Step 1 — Install StackStats
1 — Download
Download the right version for your Mac:
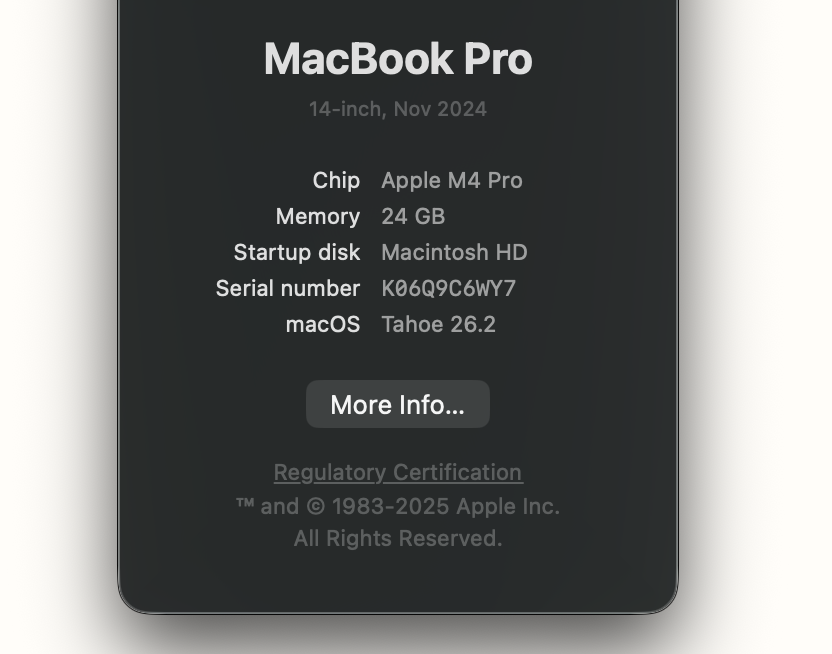
Not sure which? Click the Apple menu → About This Mac. If it says Apple M1/M2/M3/M4, choose Apple Silicon. Otherwise choose Intel.
2 — Install
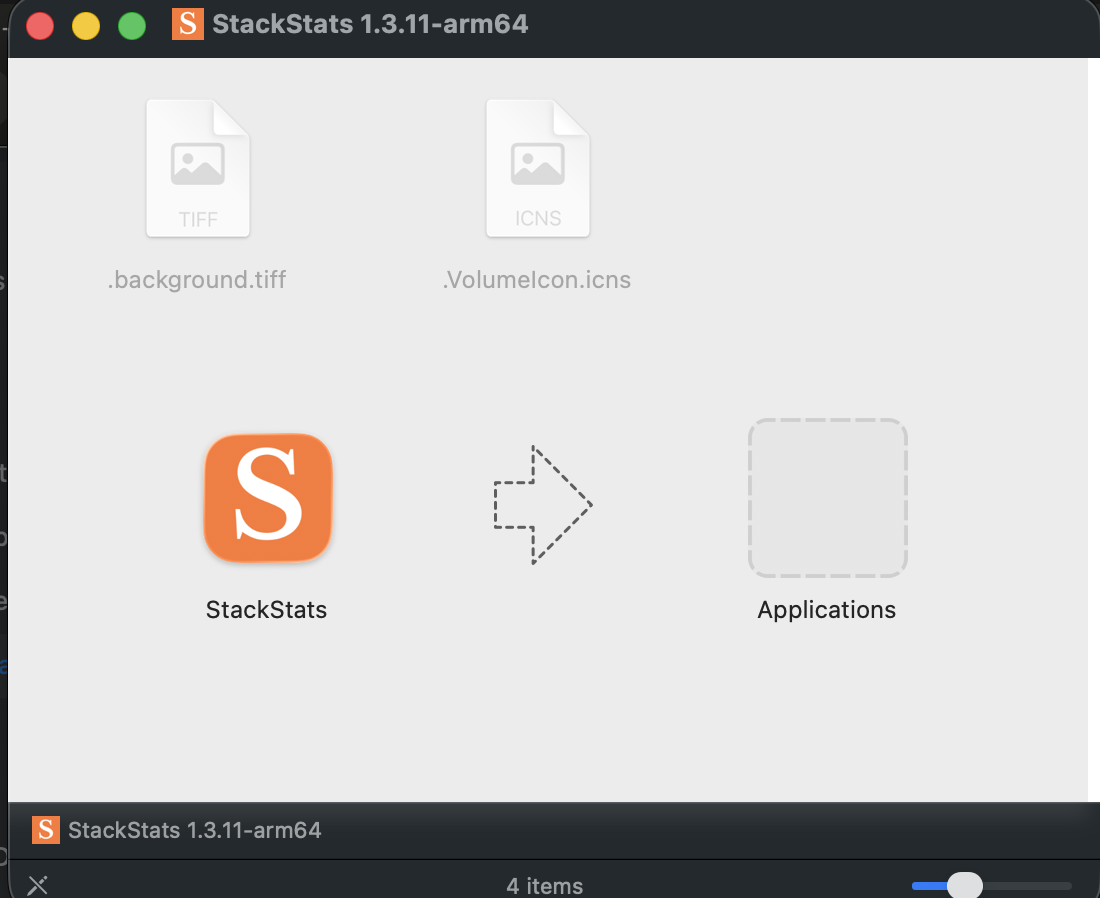
Open the downloaded .dmg file. Drag StackStats into the Applications folder.
3 — Open the app
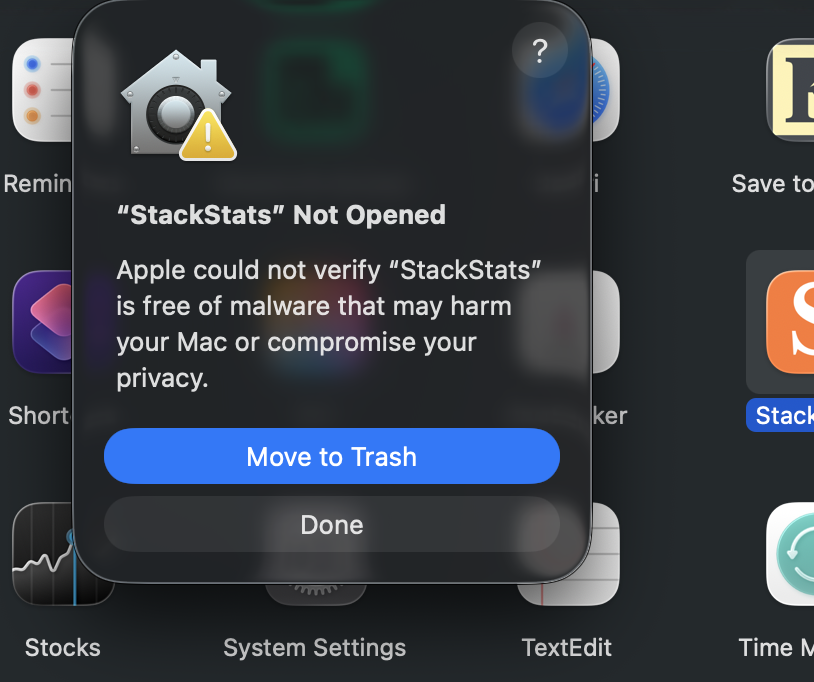
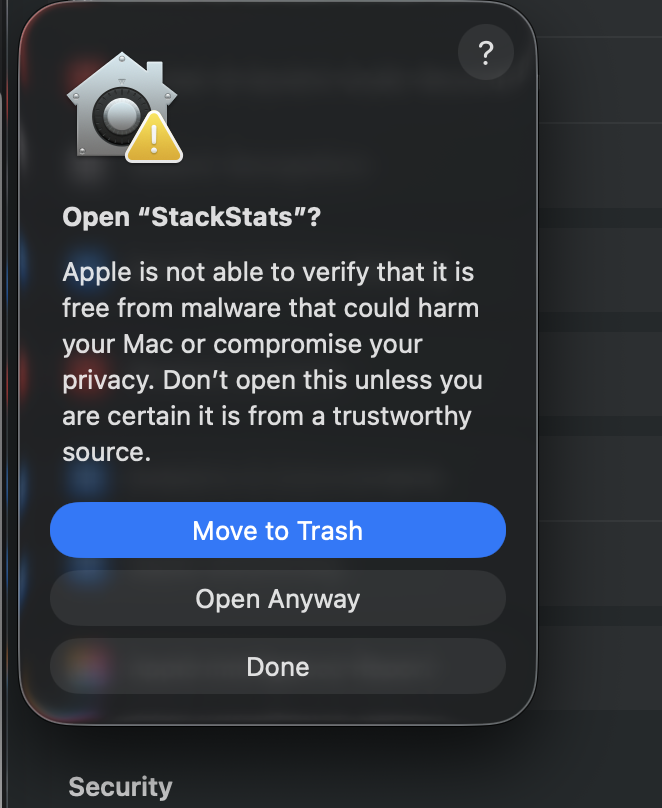
Go to Finder → Applications and double-click StackStats. macOS will block it and show an error dialog — that’s expected. Click Done to dismiss it.
4 — Allow in System Settings
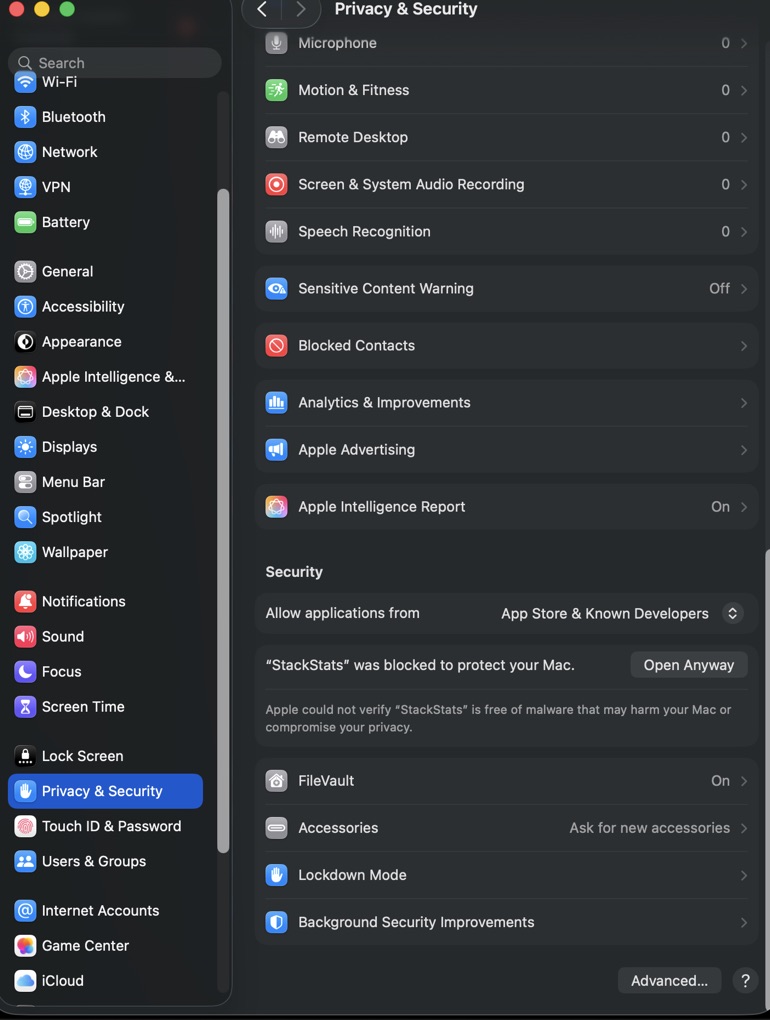
Open System Settings → Privacy & Security and scroll down. You’ll see a message saying “StackStats was blocked.” Click Open Anyway.
5 — Confirm & launch
macOS will ask you to confirm one more time — click Open. Enter your Mac password or use Touch ID if prompted. StackStats will launch.
macOS blocks apps from developers who don’t have an Apple Developer certificate ($99/year). I’ve applied for one and this warning will go away once it’s issued. StackStats is not malware — it’s a local app that never sends your data anywhere. Sorry for the inconvenience, this will be resolved very soon.
1 — Download

2 — Run the installer
Double-click StackStats-Setup.exe. If Windows SmartScreen appears, click More info and then Run anyway.

3 — Complete installation
The installer will complete and launch StackStats automatically.

Windows flags apps that aren’t code-signed. We’re in the process of getting a Windows certificate and this warning will disappear once that’s done. StackStats runs entirely on your machine and never sends your subscriber data anywhere. Sorry for the inconvenience.
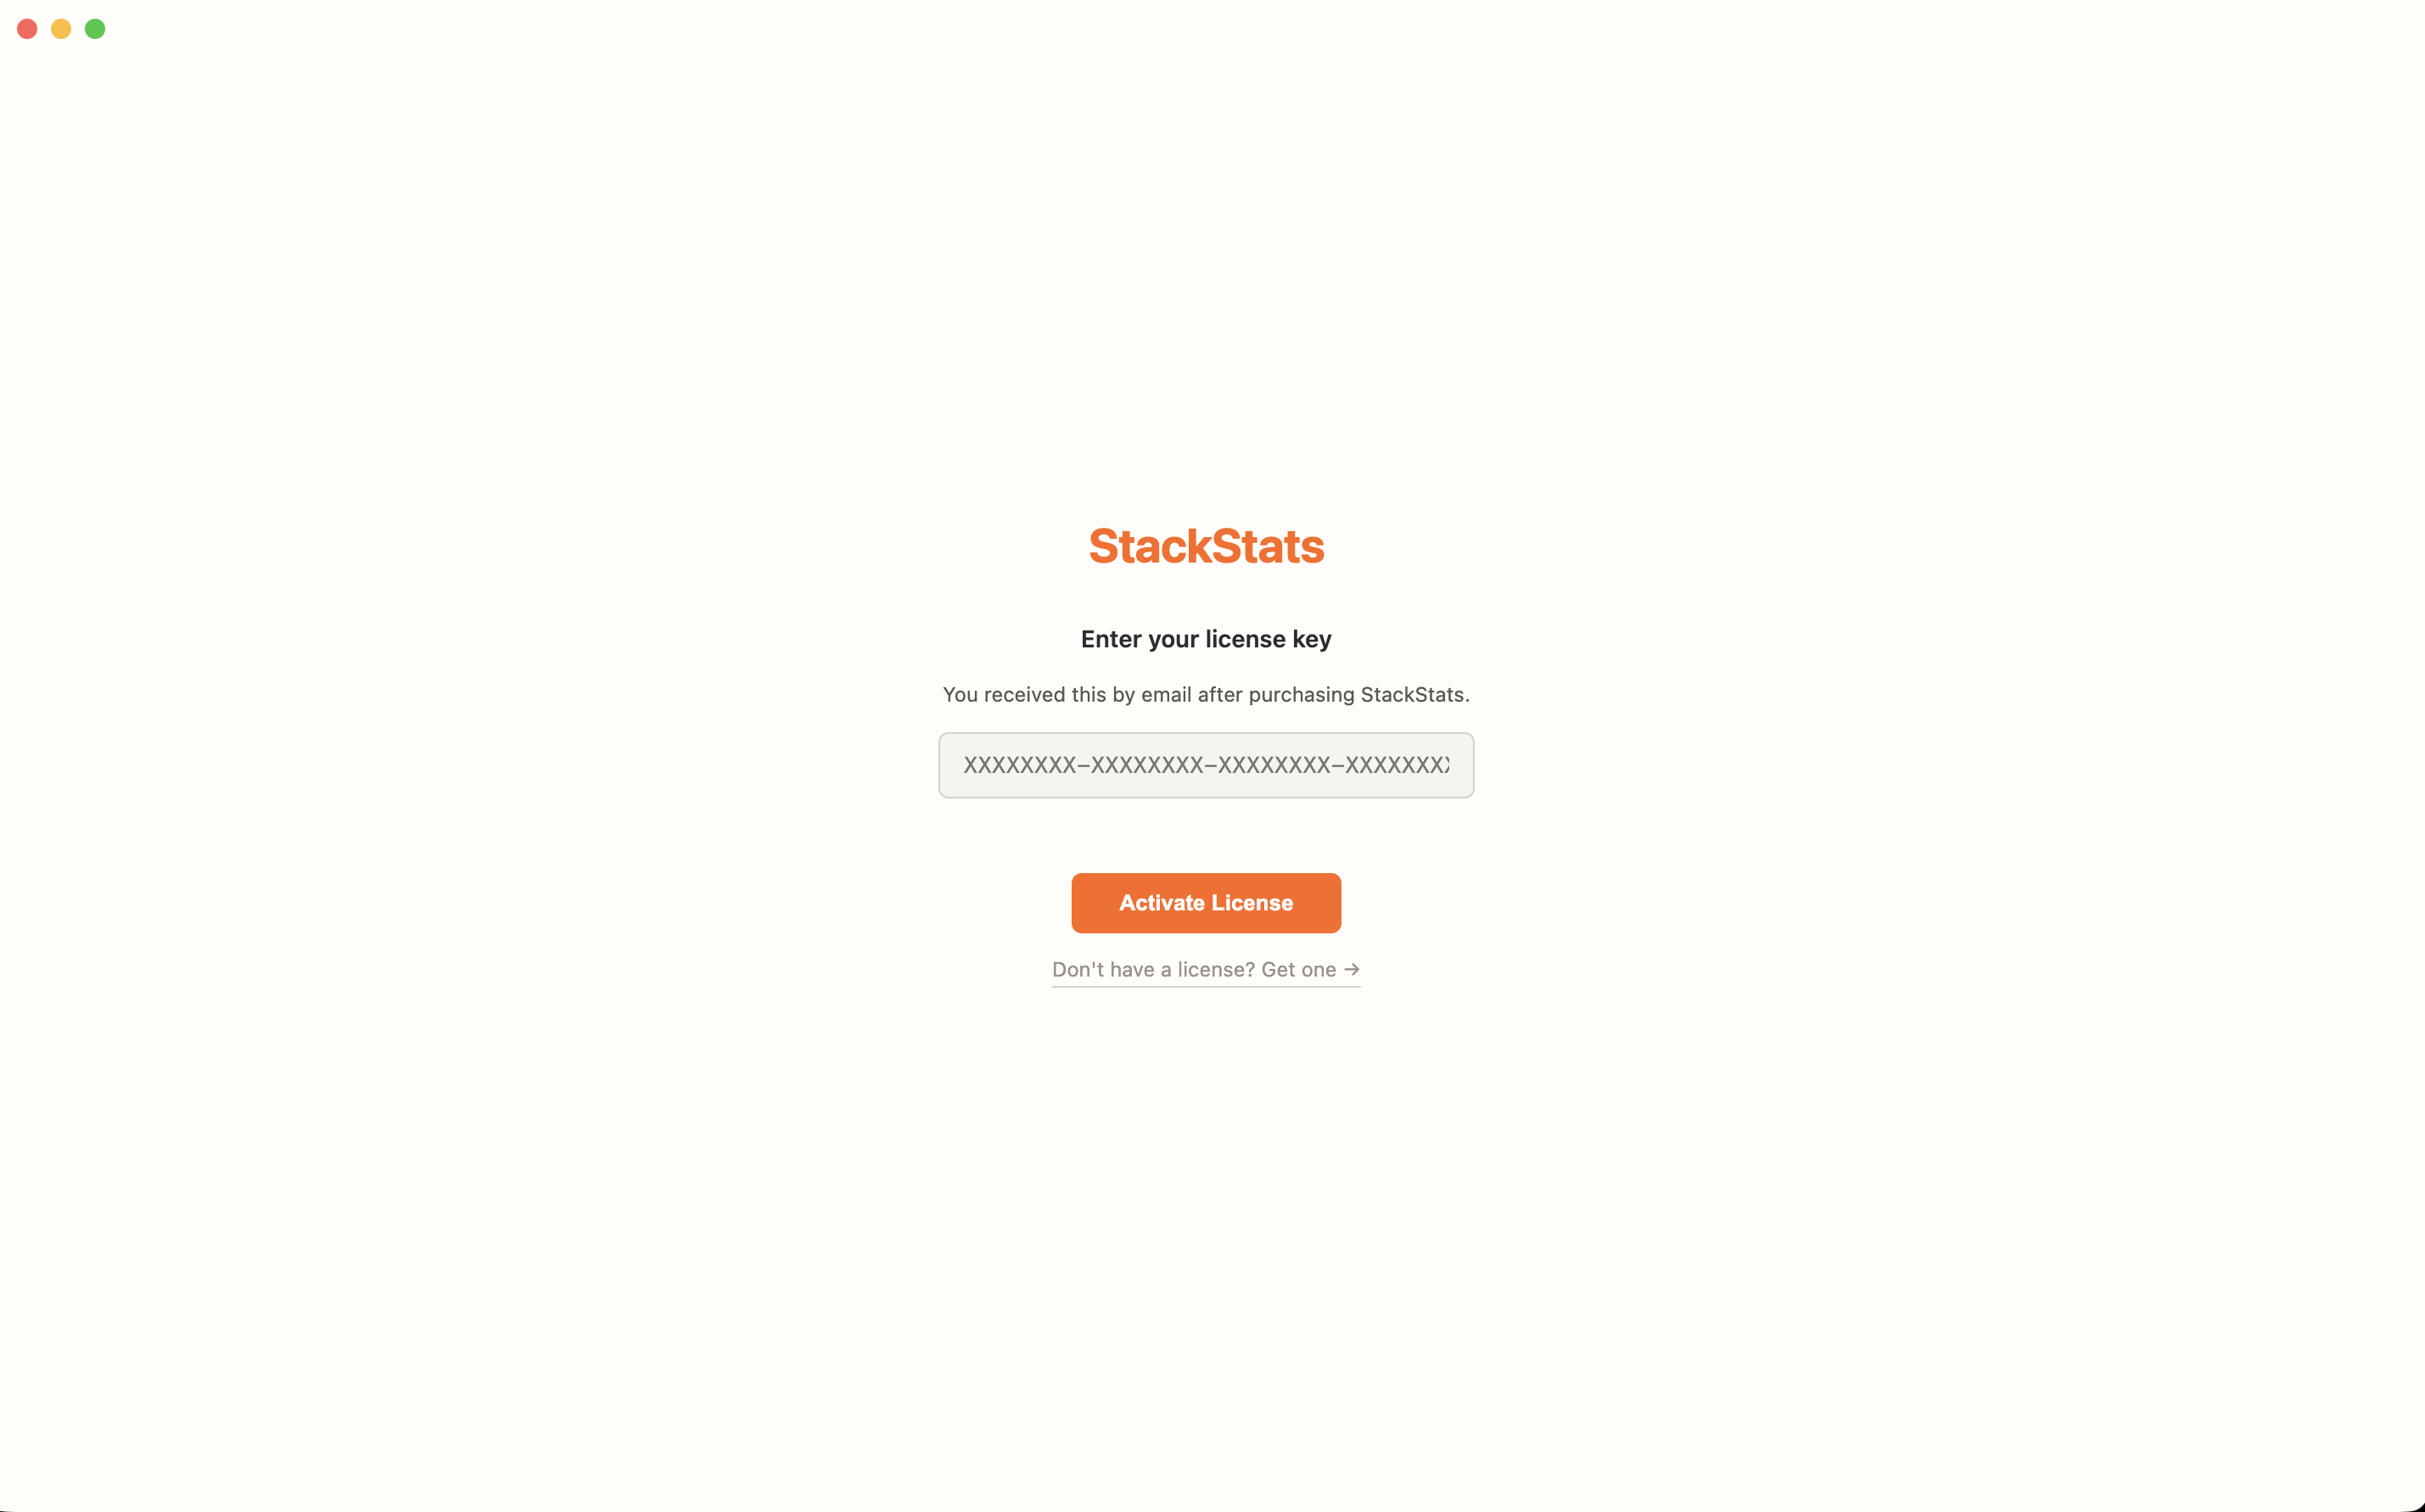
Step 2 — Enter your license key
When StackStats opens for the first time, it will show a license screen. Check your Gumroad purchase email for your key — paste it in and click Activate.
Step 3 — Download your Substack data
StackStats reads your Substack exports — nothing is fetched automatically. Follow these steps on your Substack dashboard. You don’t need all files; each one unlocks more analytics.
-
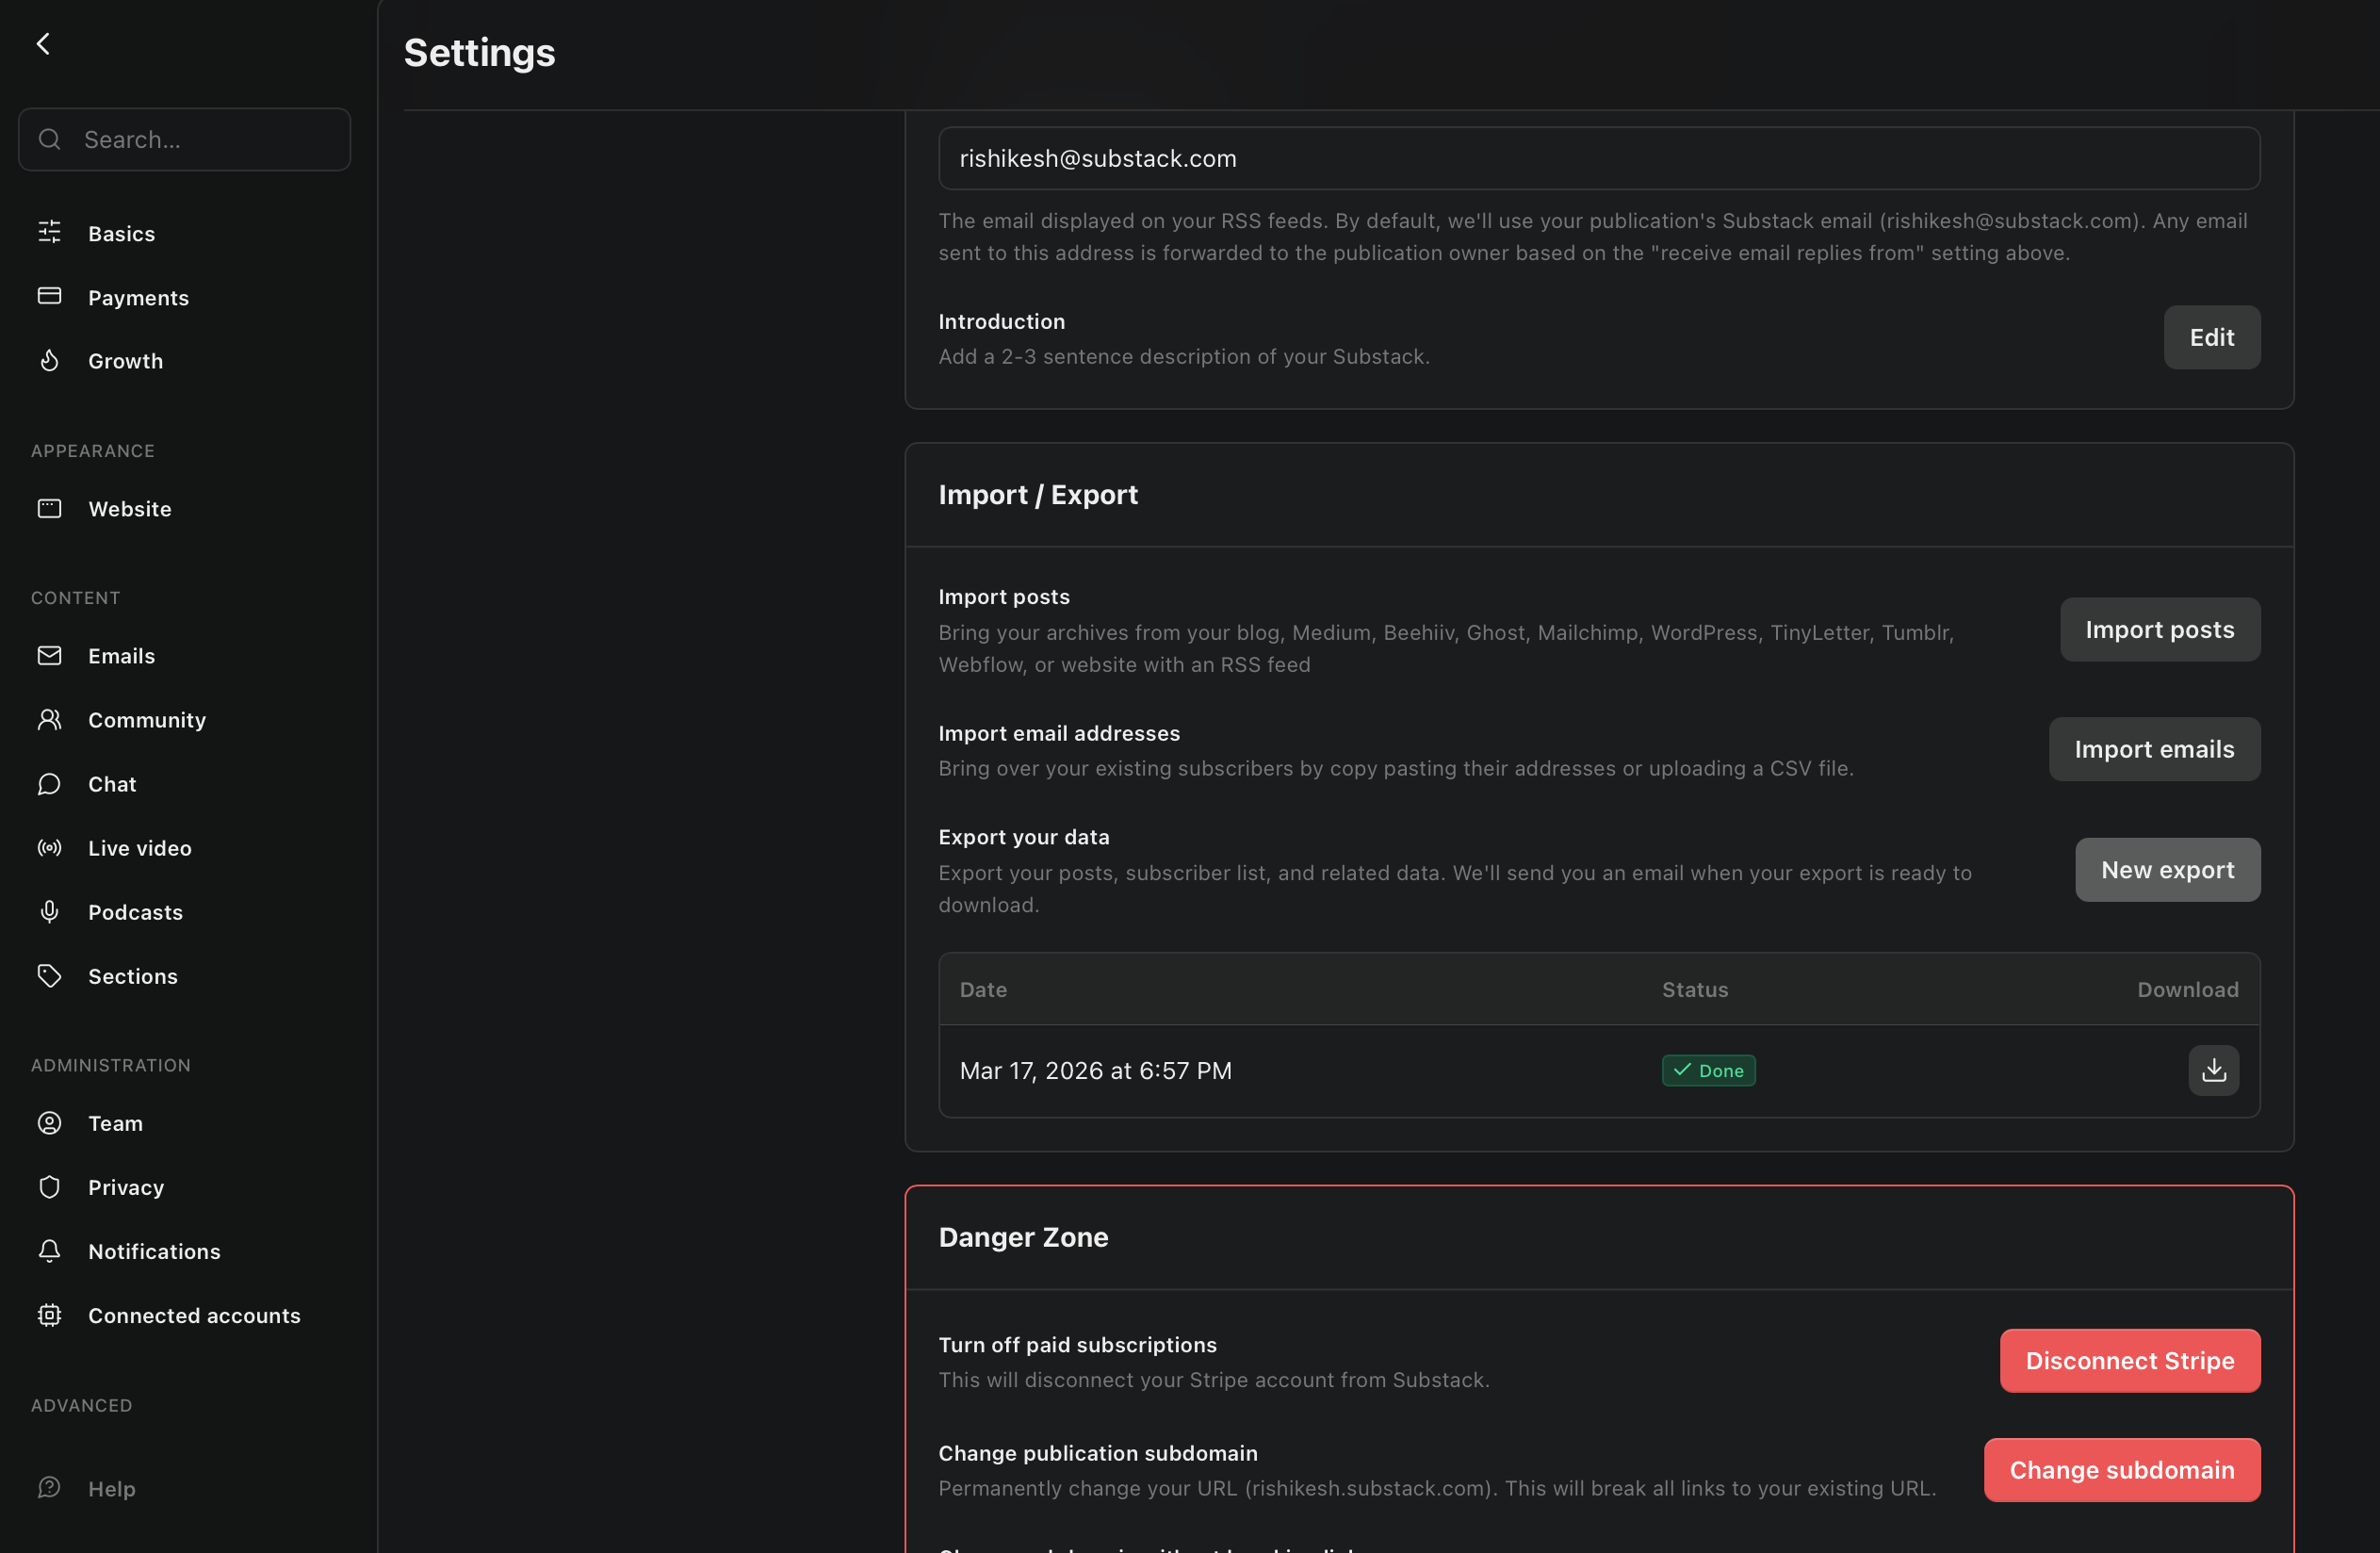
Substack ZIP export — the most valuable file. Unlocks per-post open rates, click rates, device breakdown, and geographic data.
Substack dashboard → Settings → Export data → click New Export → wait for the email → download the.zipfileIf your Mac automatically extracts the ZIP into a folder, that’s fine — StackStats handles both.
-
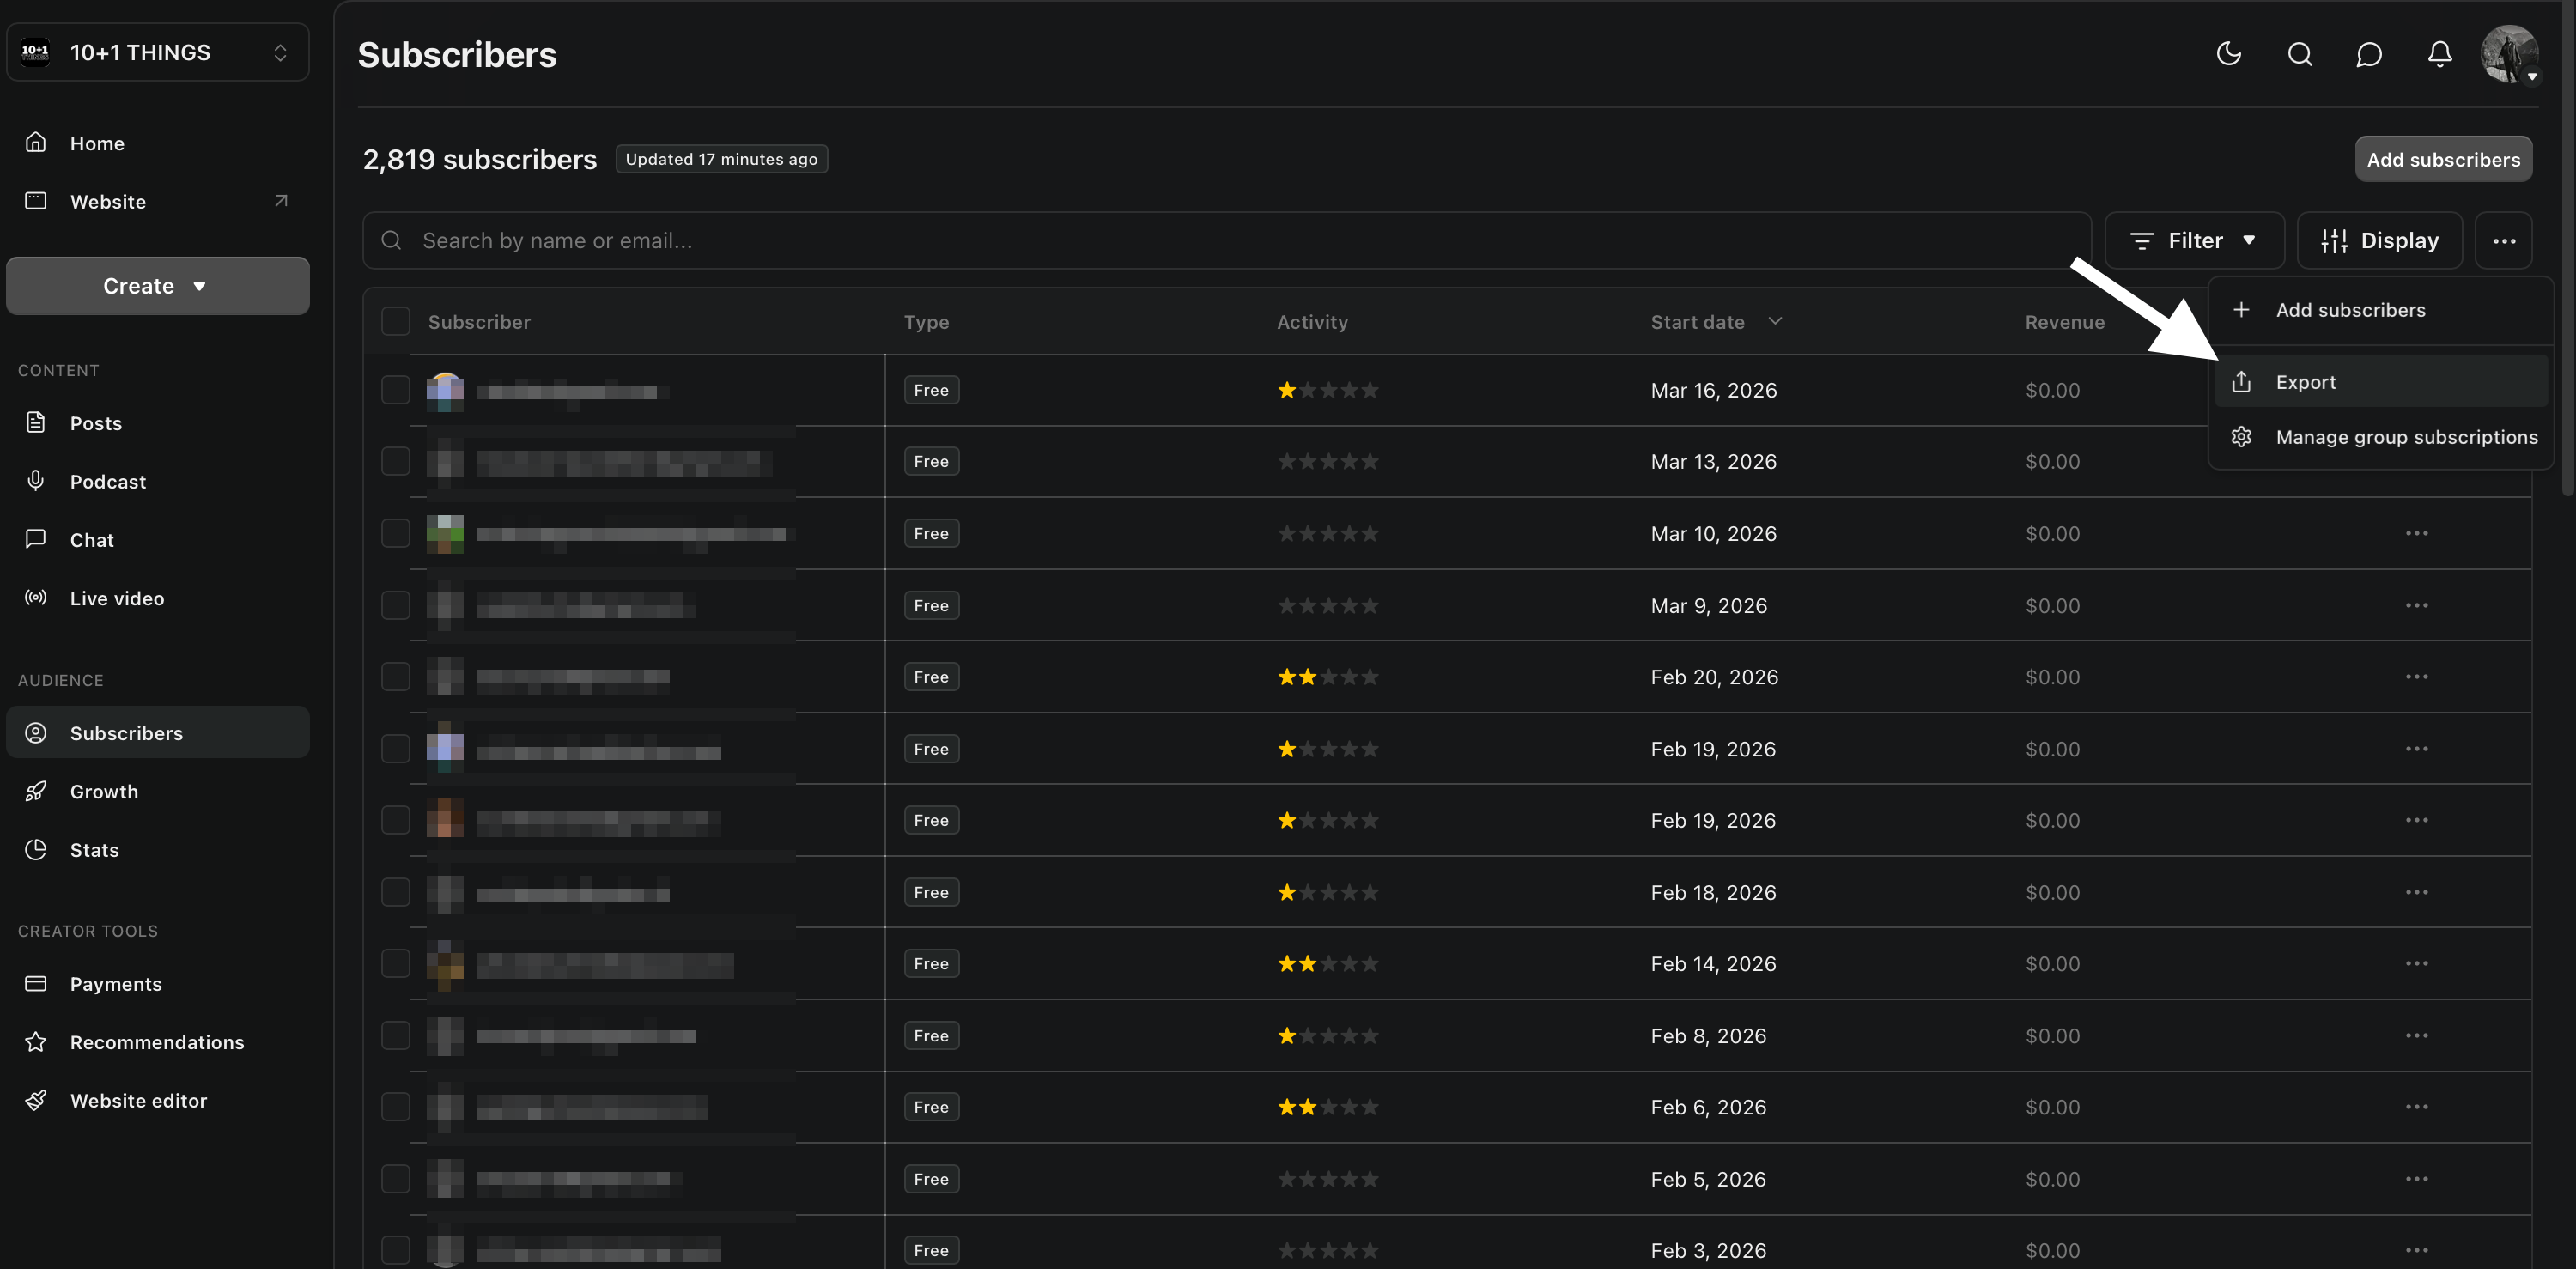
Subscribers — full subscriber list with engagement history, country, and activity data.
Dashboard → Audience → click the 3 dots (⋯) at top right of the table → Export all columns → ExportMake sure to choose Export all columns — this gives you 43 fields including engagement, activity, and location data.
-
Growth sources — daily new subscribers and visitors broken down by traffic source.
Dashboard → Growth → set period to All time → 3 dots (⋯) → Download CSV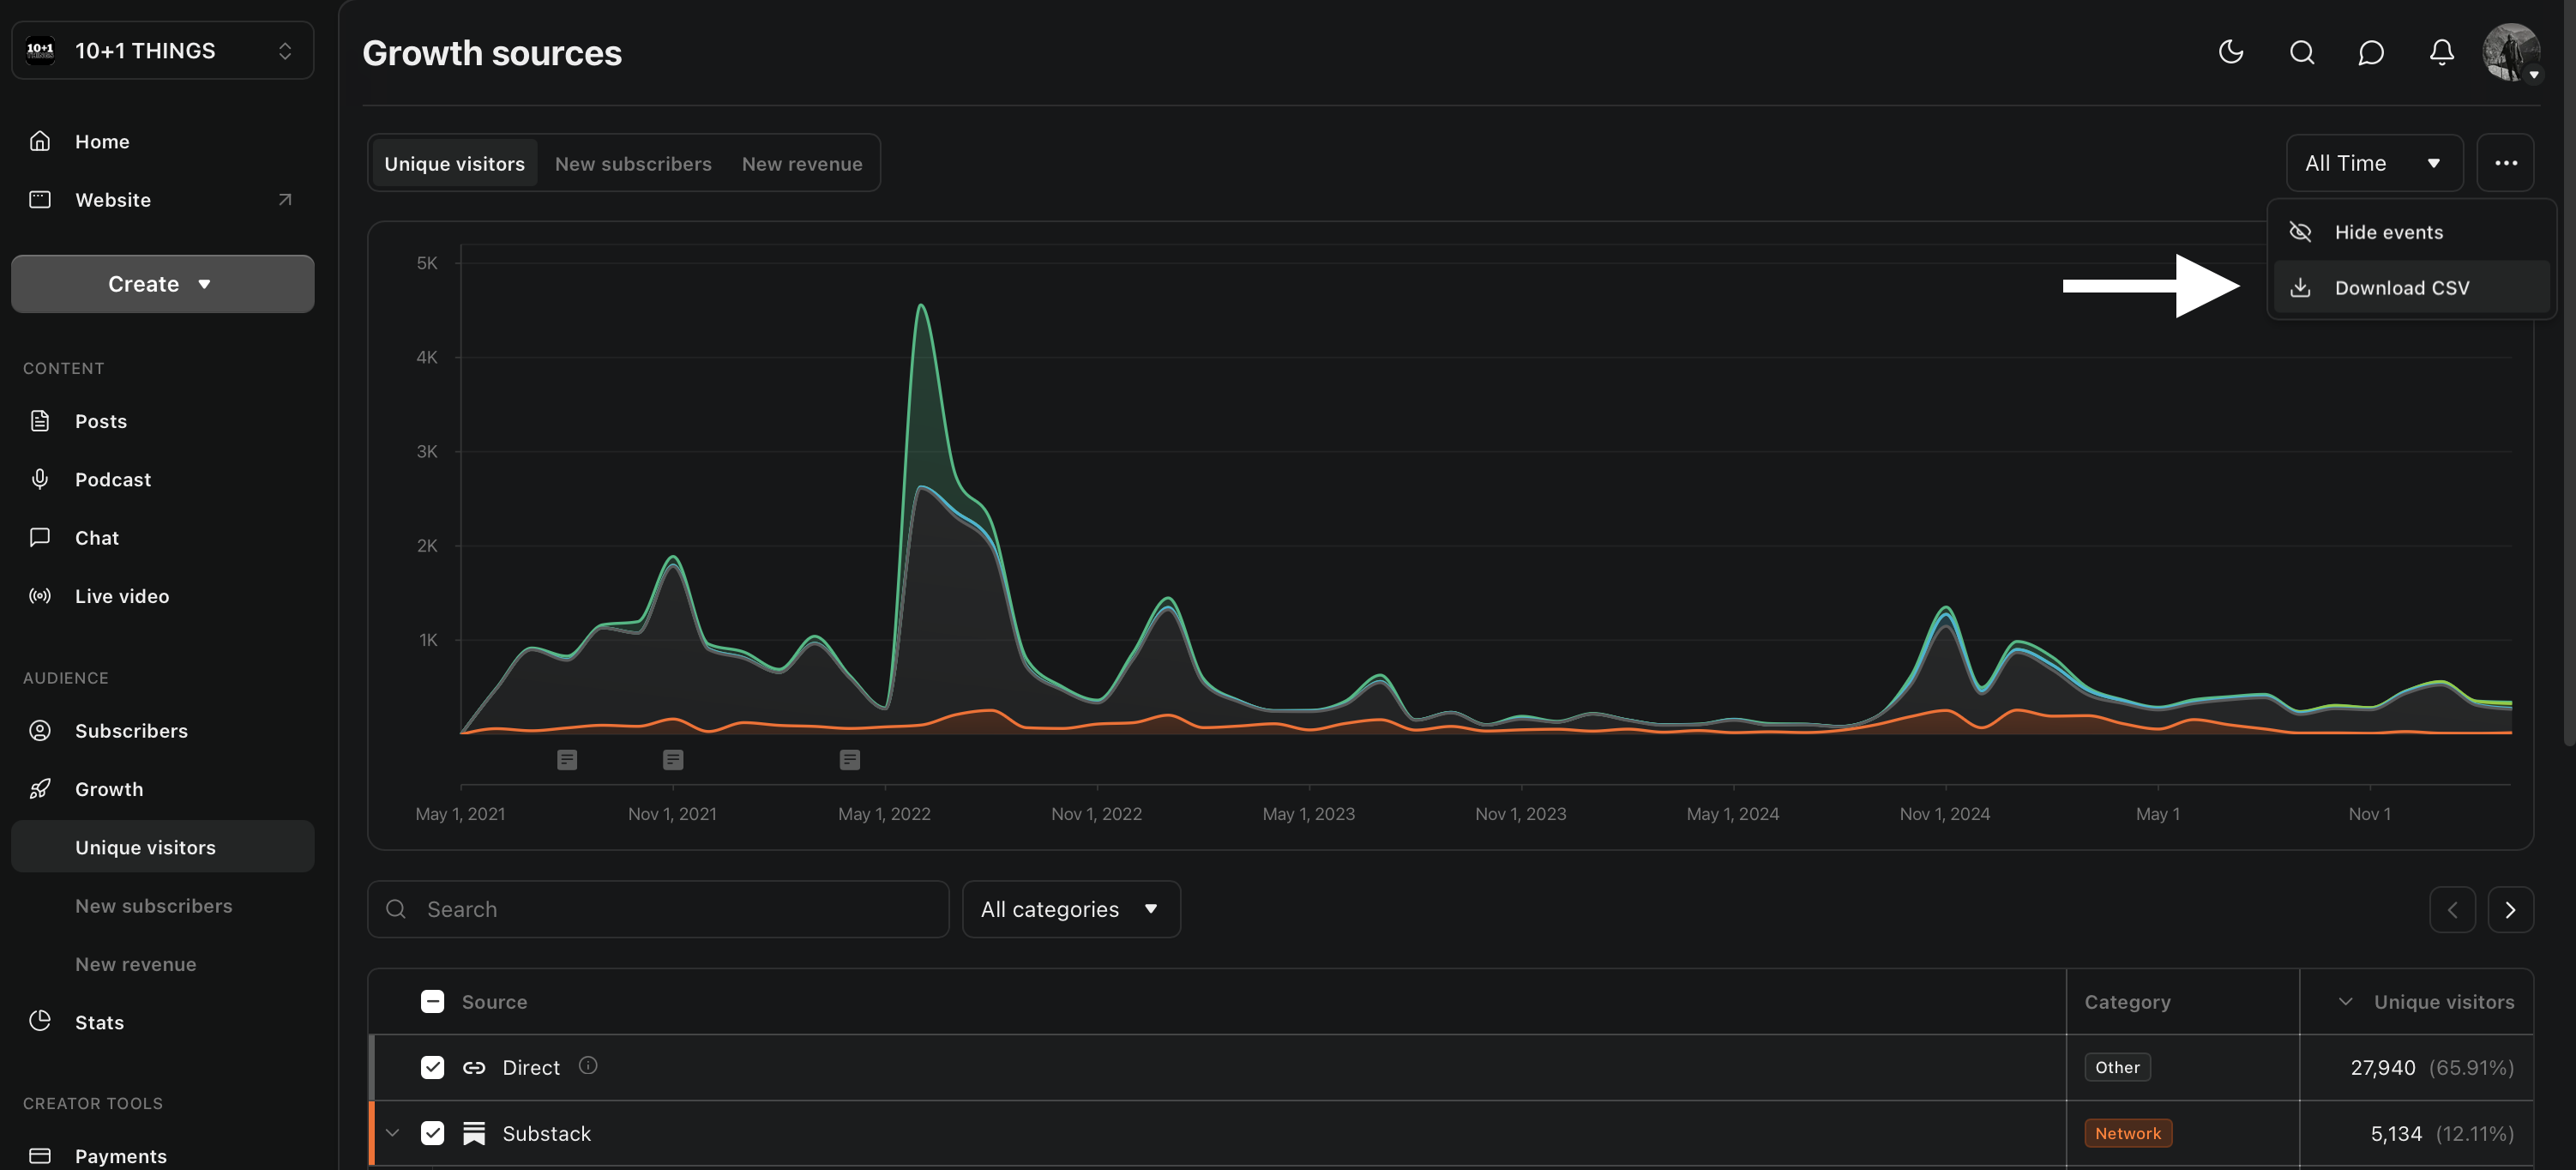
-
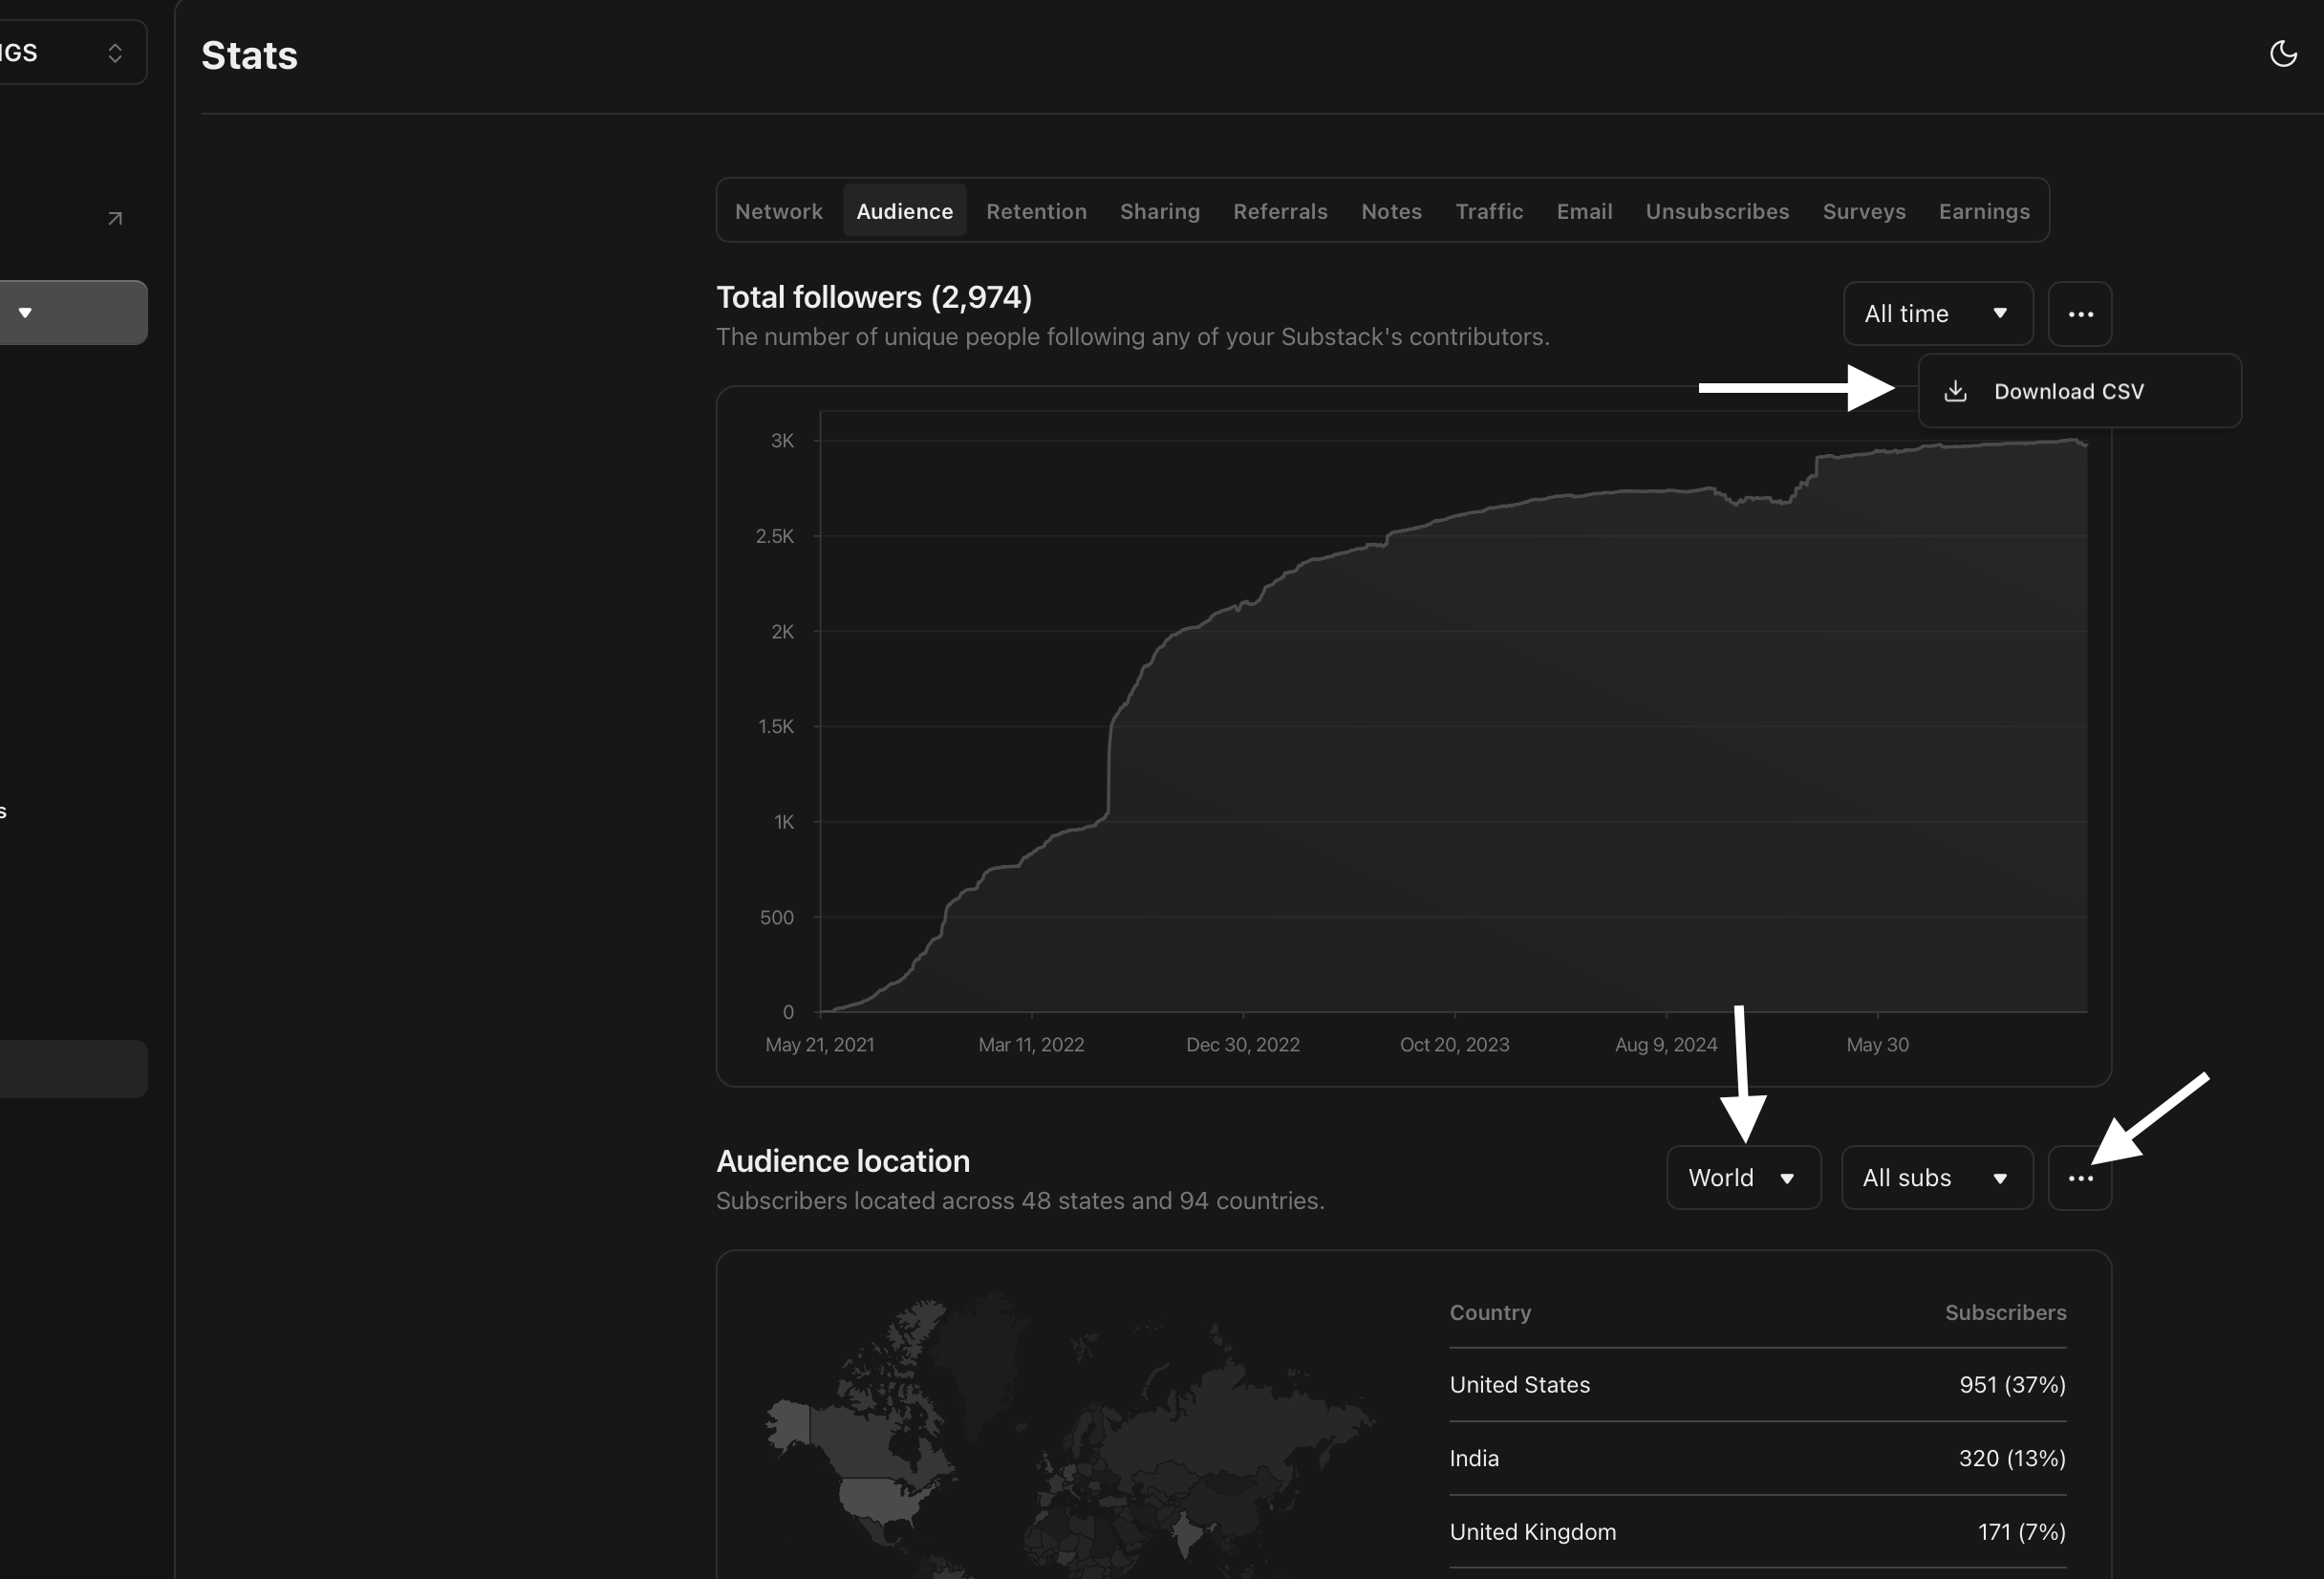
Audience location & followers — signup counts by country, US state/province, and follower growth. All from the same page — 3 downloads.
Dashboard → Stats → Audience tab → set period to All time- Set location to World, All subscribers → 3 dots → Download CSV (countries file)
- Set location to USA, All subscribers → 3 dots → Download CSV (US states file)
- Switch metric to Followers → 3 dots → Download CSV (followers file)
-
Traffic (page views) — daily page views for your publication.
Dashboard → Stats → Traffic → Total Traffic table →choose your date range → 3 dots (⋯) → Download CSV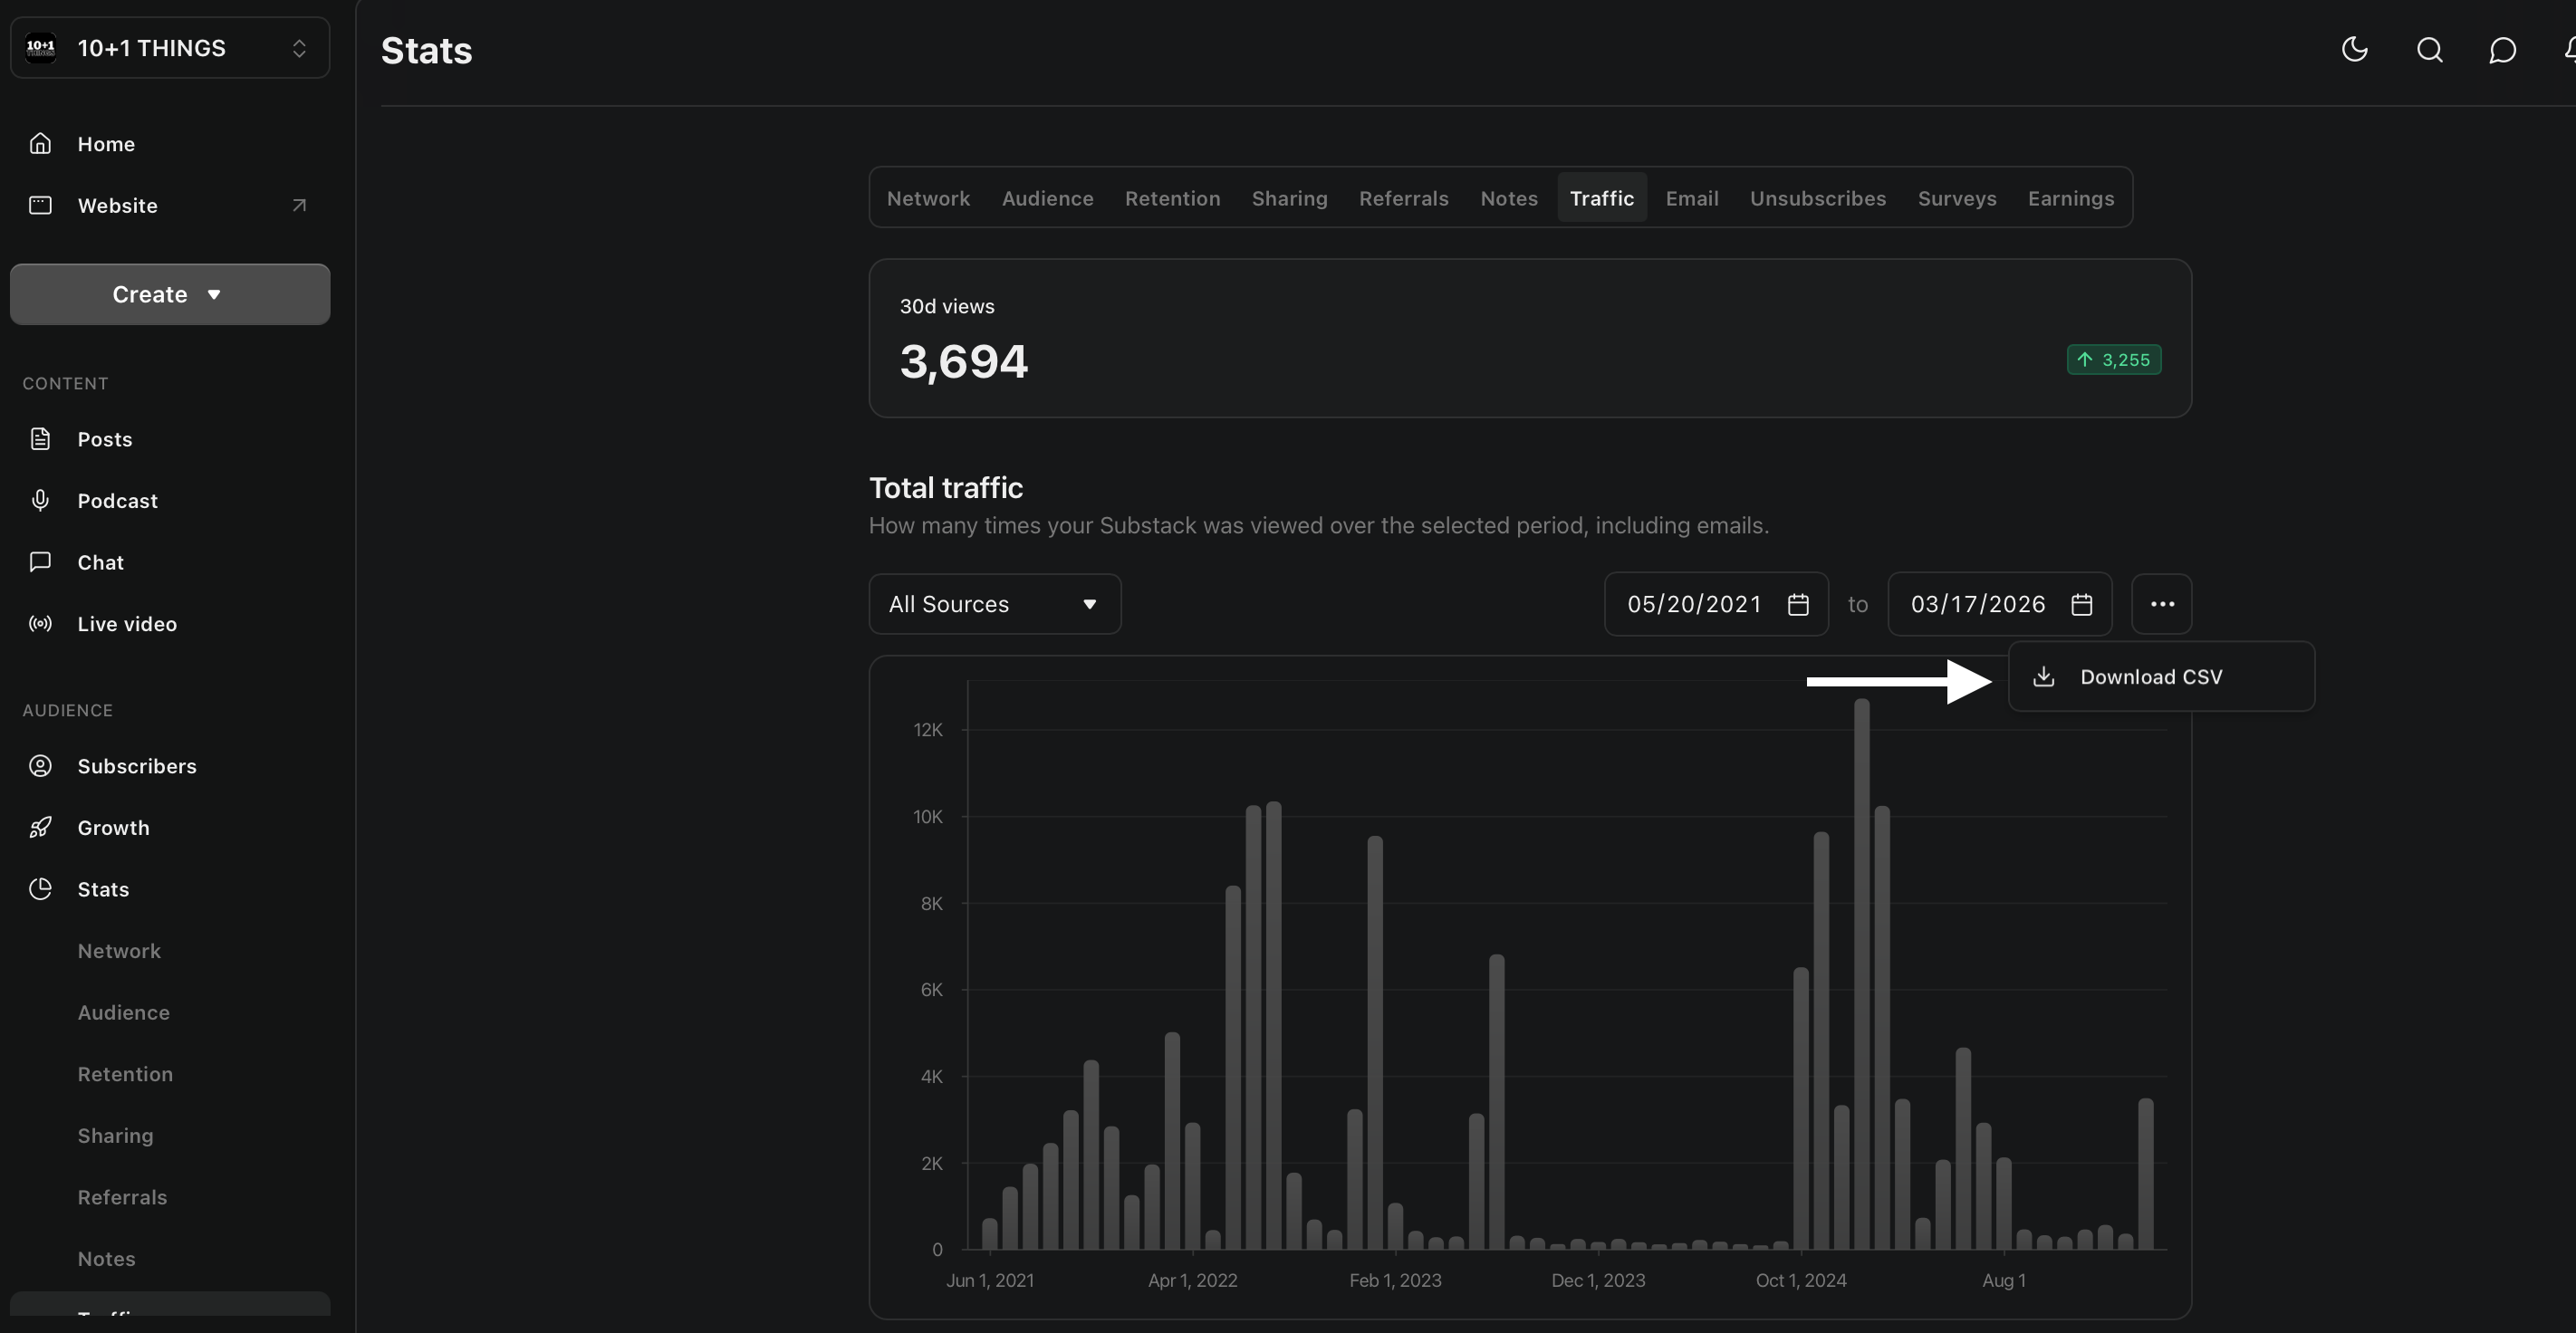
-
Traffic sources — which sites and search terms are sending you readers.
Dashboard → Stats → Traffic → scroll down to the Traffic by source table → 3 dots (⋯) → Download CSV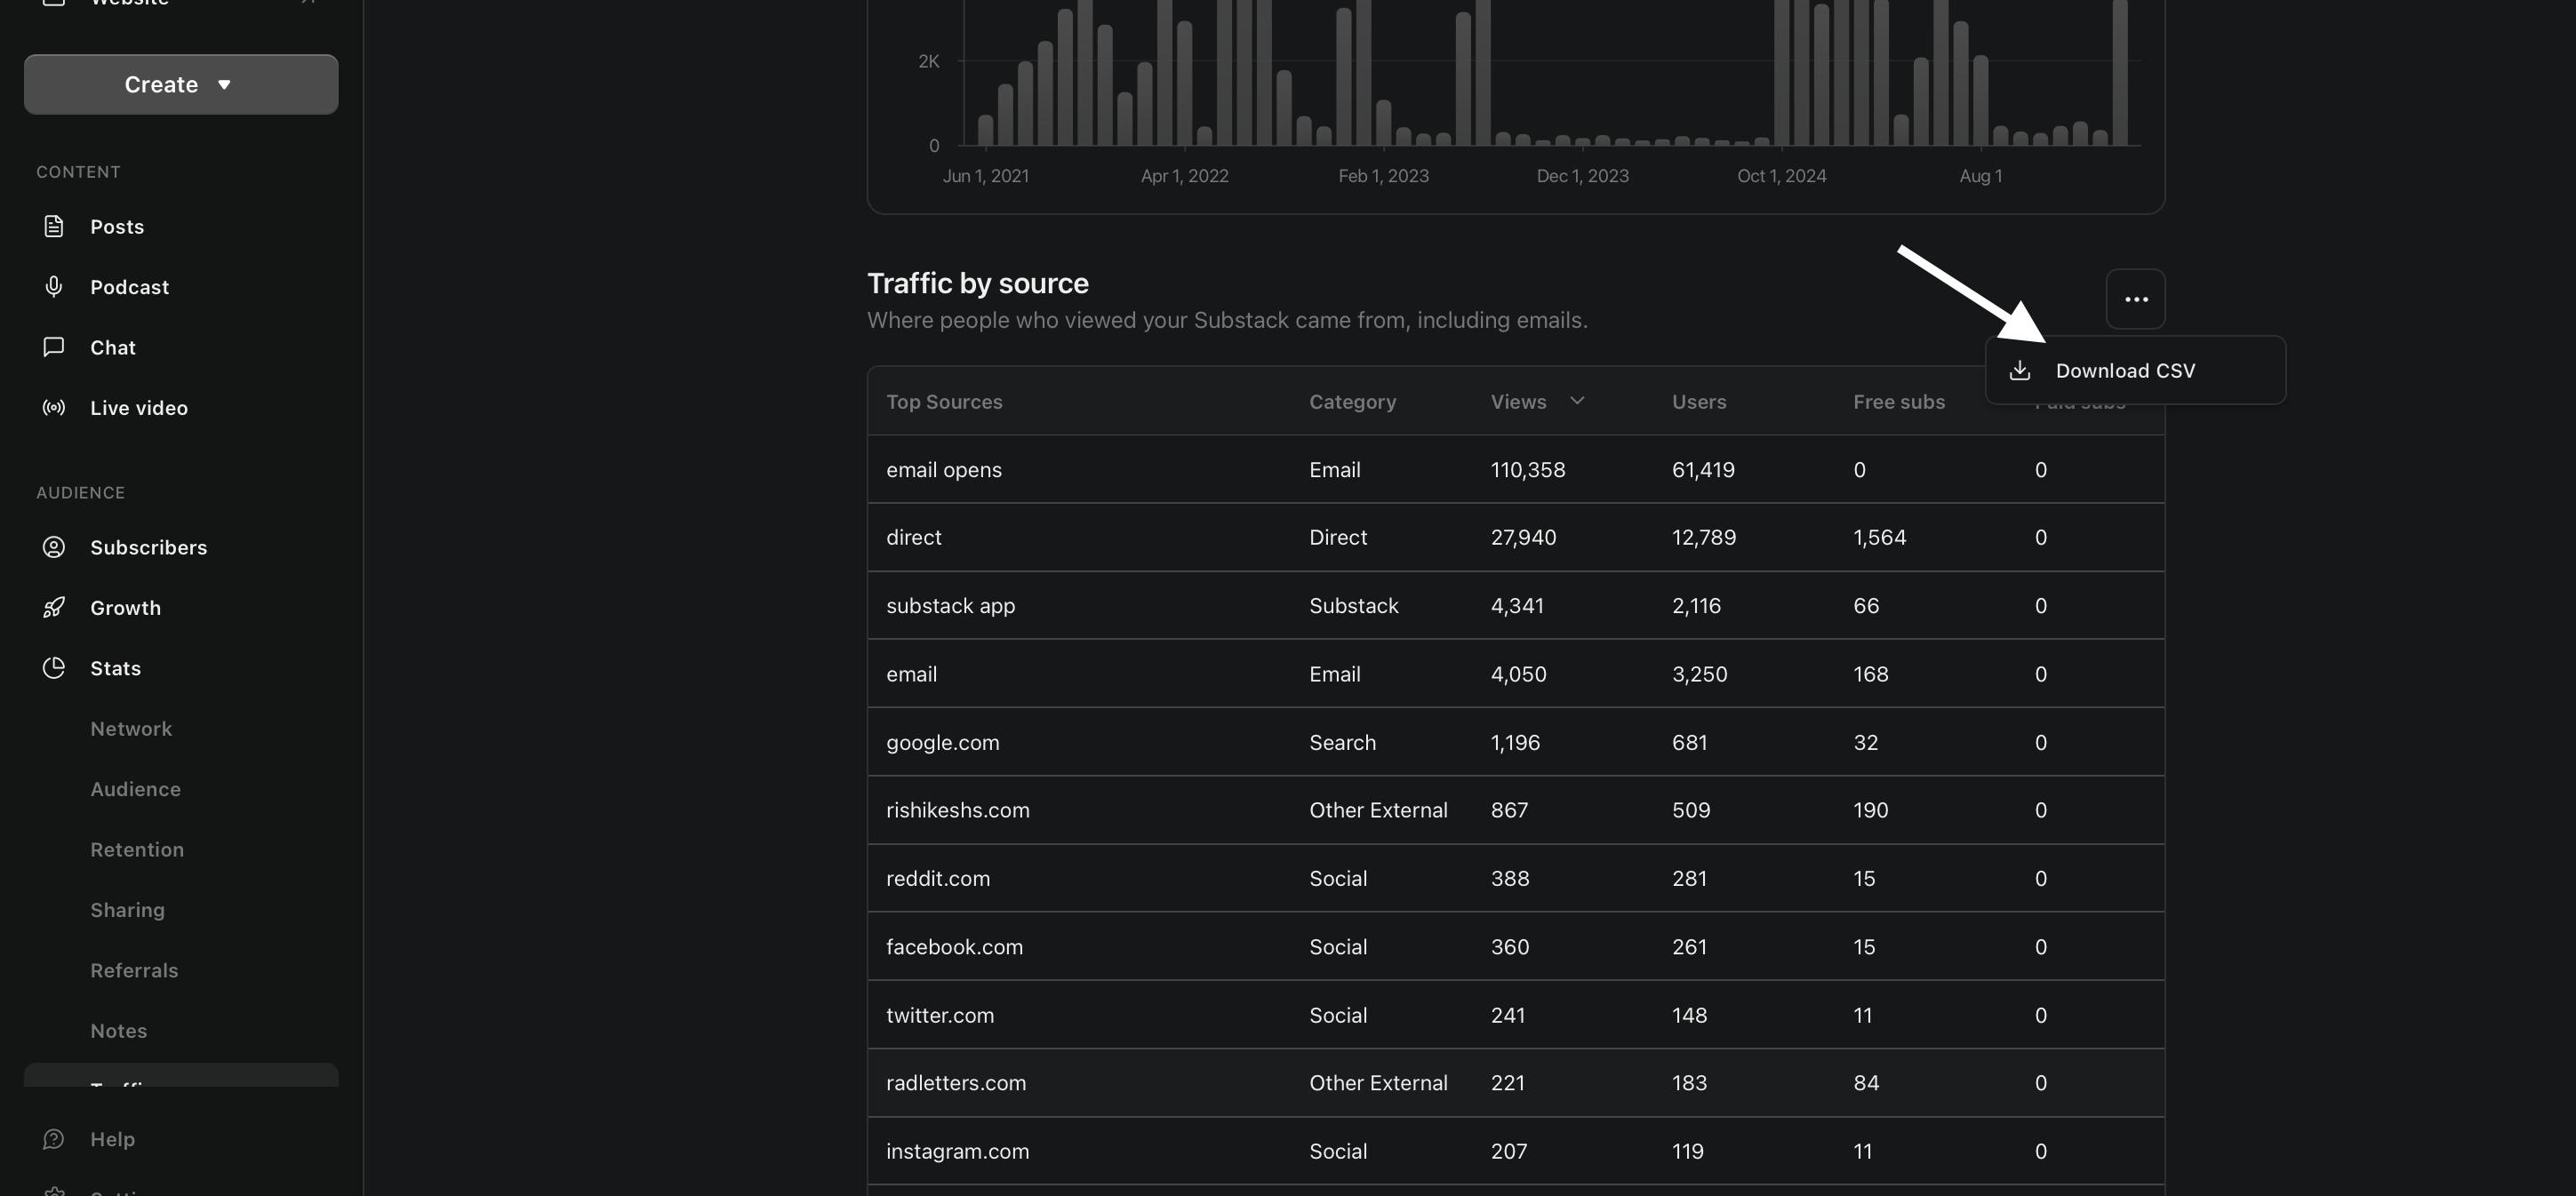
-
Email subscriber count — email subscriber count over time.
Dashboard → Stats → click the Email tab at the top → 3 dots (⋯) → Download CSV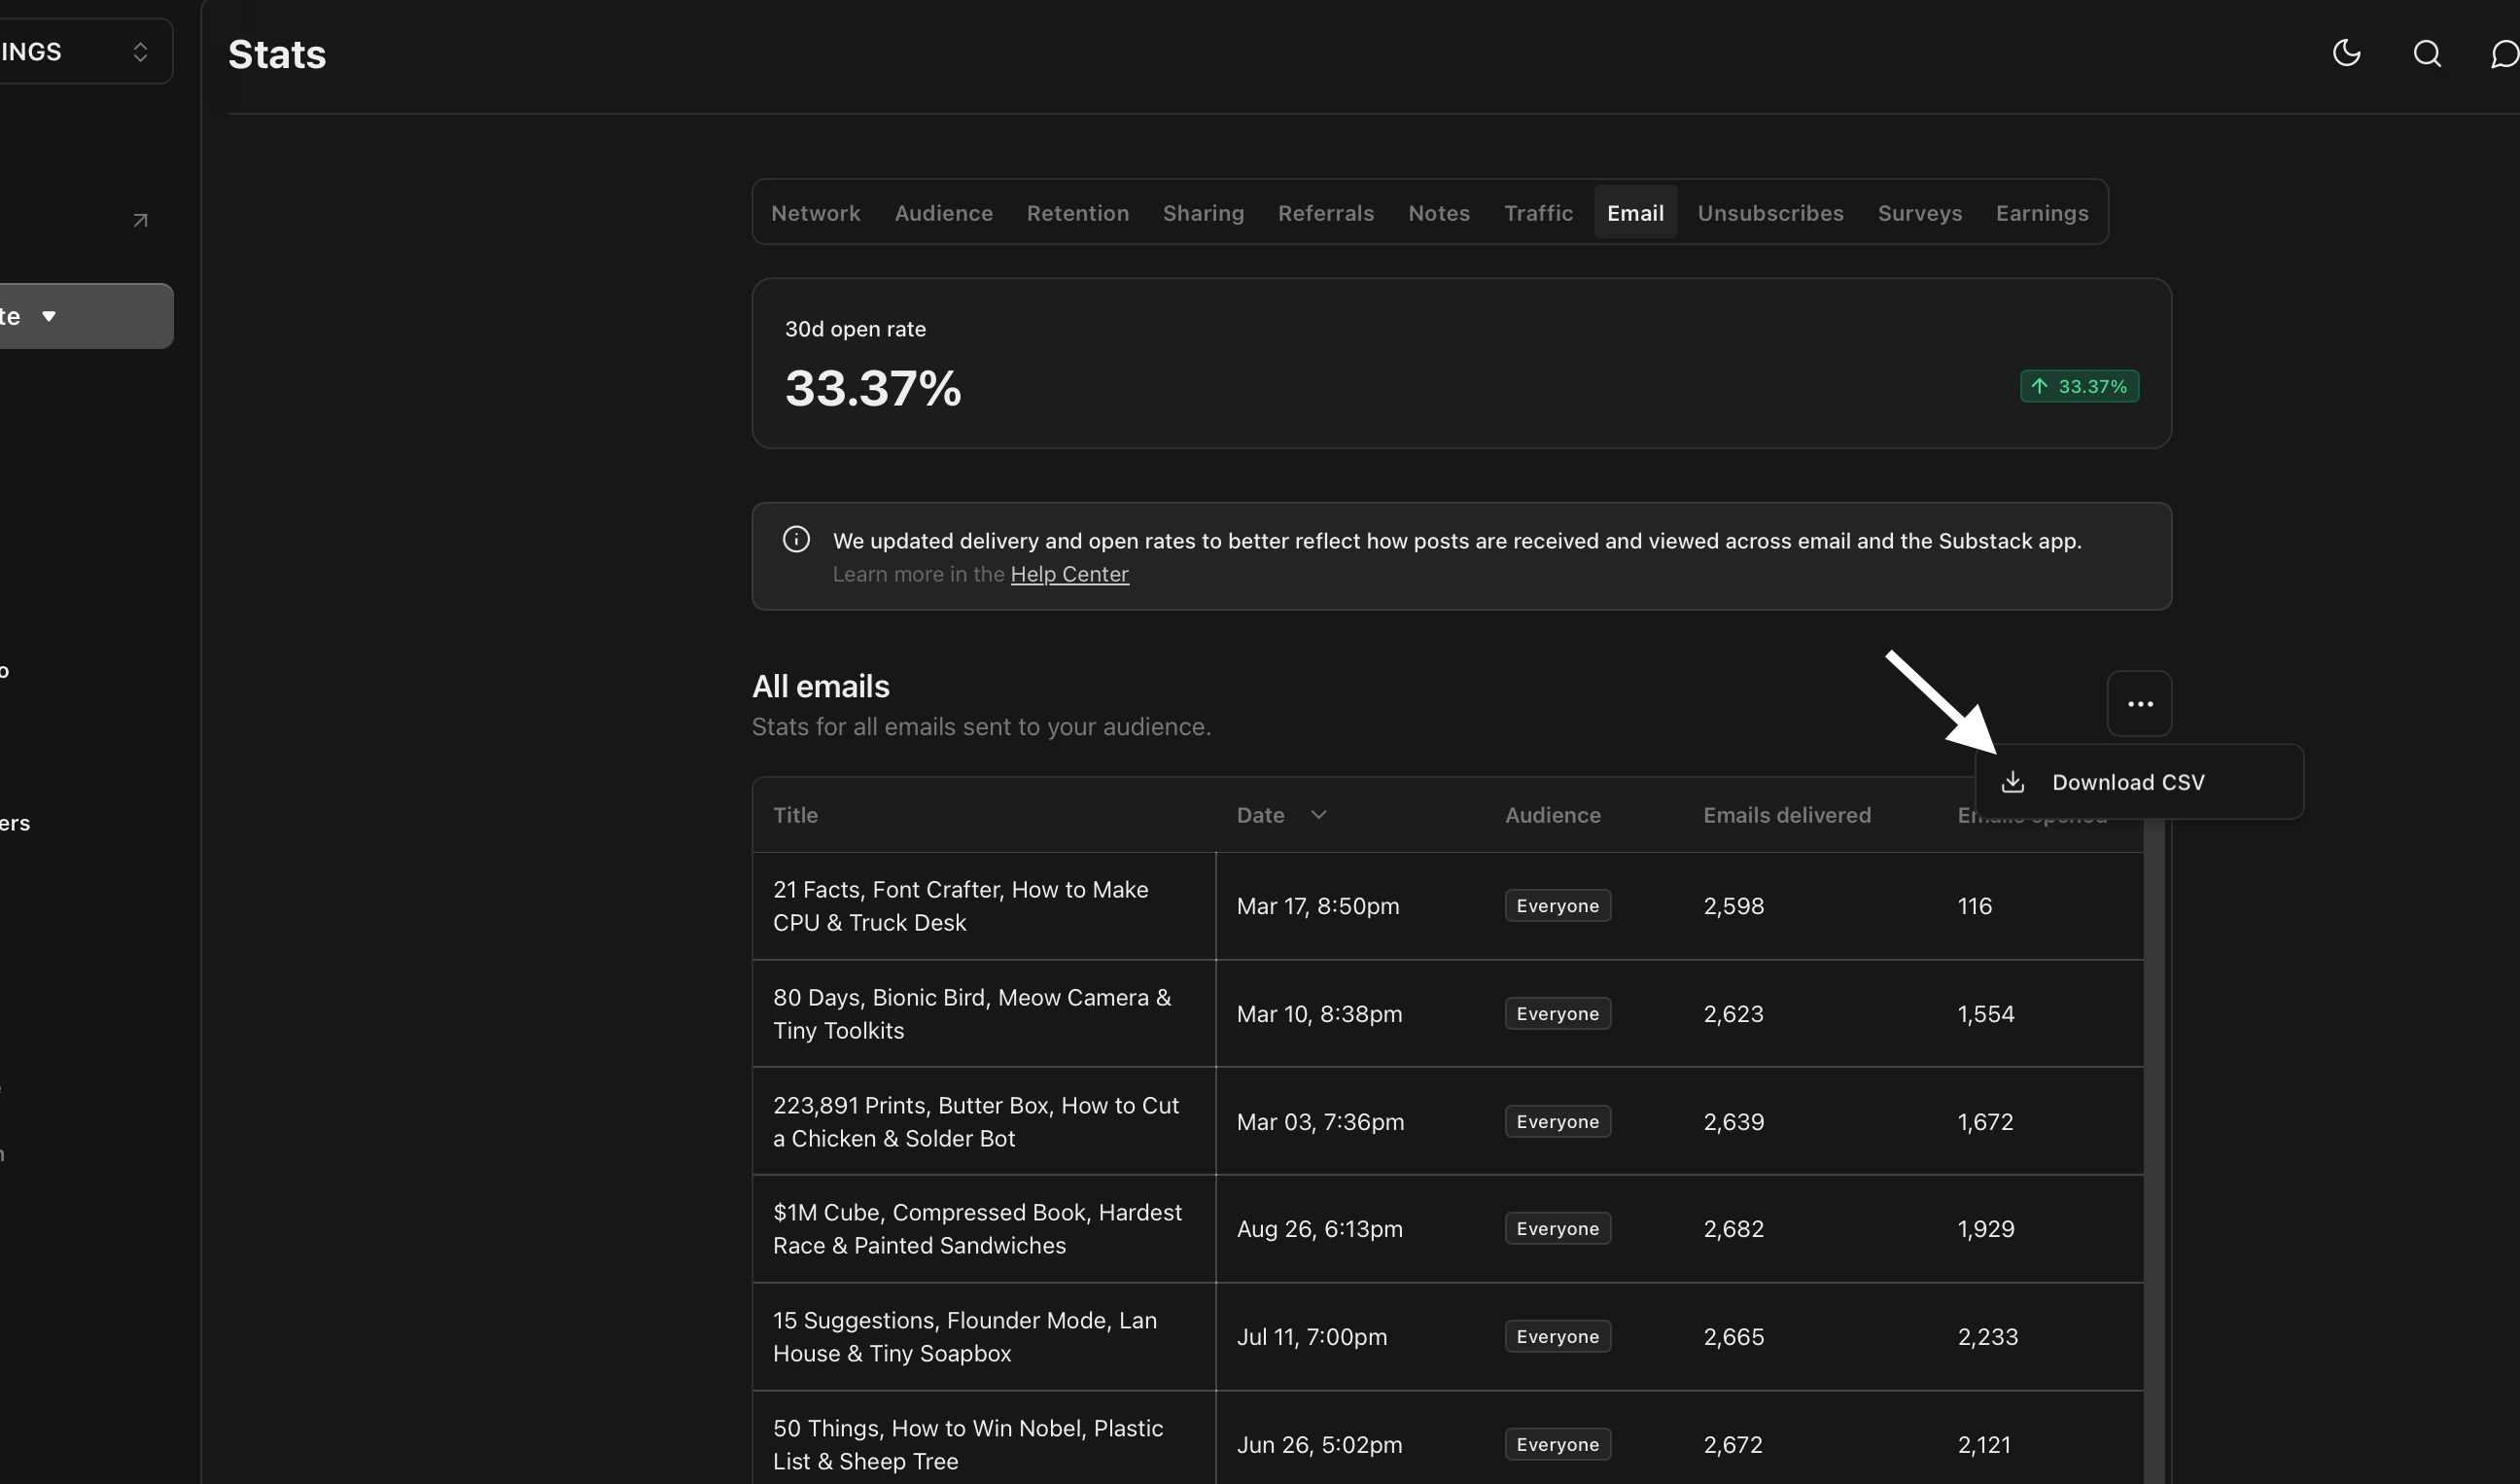
Step 4 — Load your files into StackStats
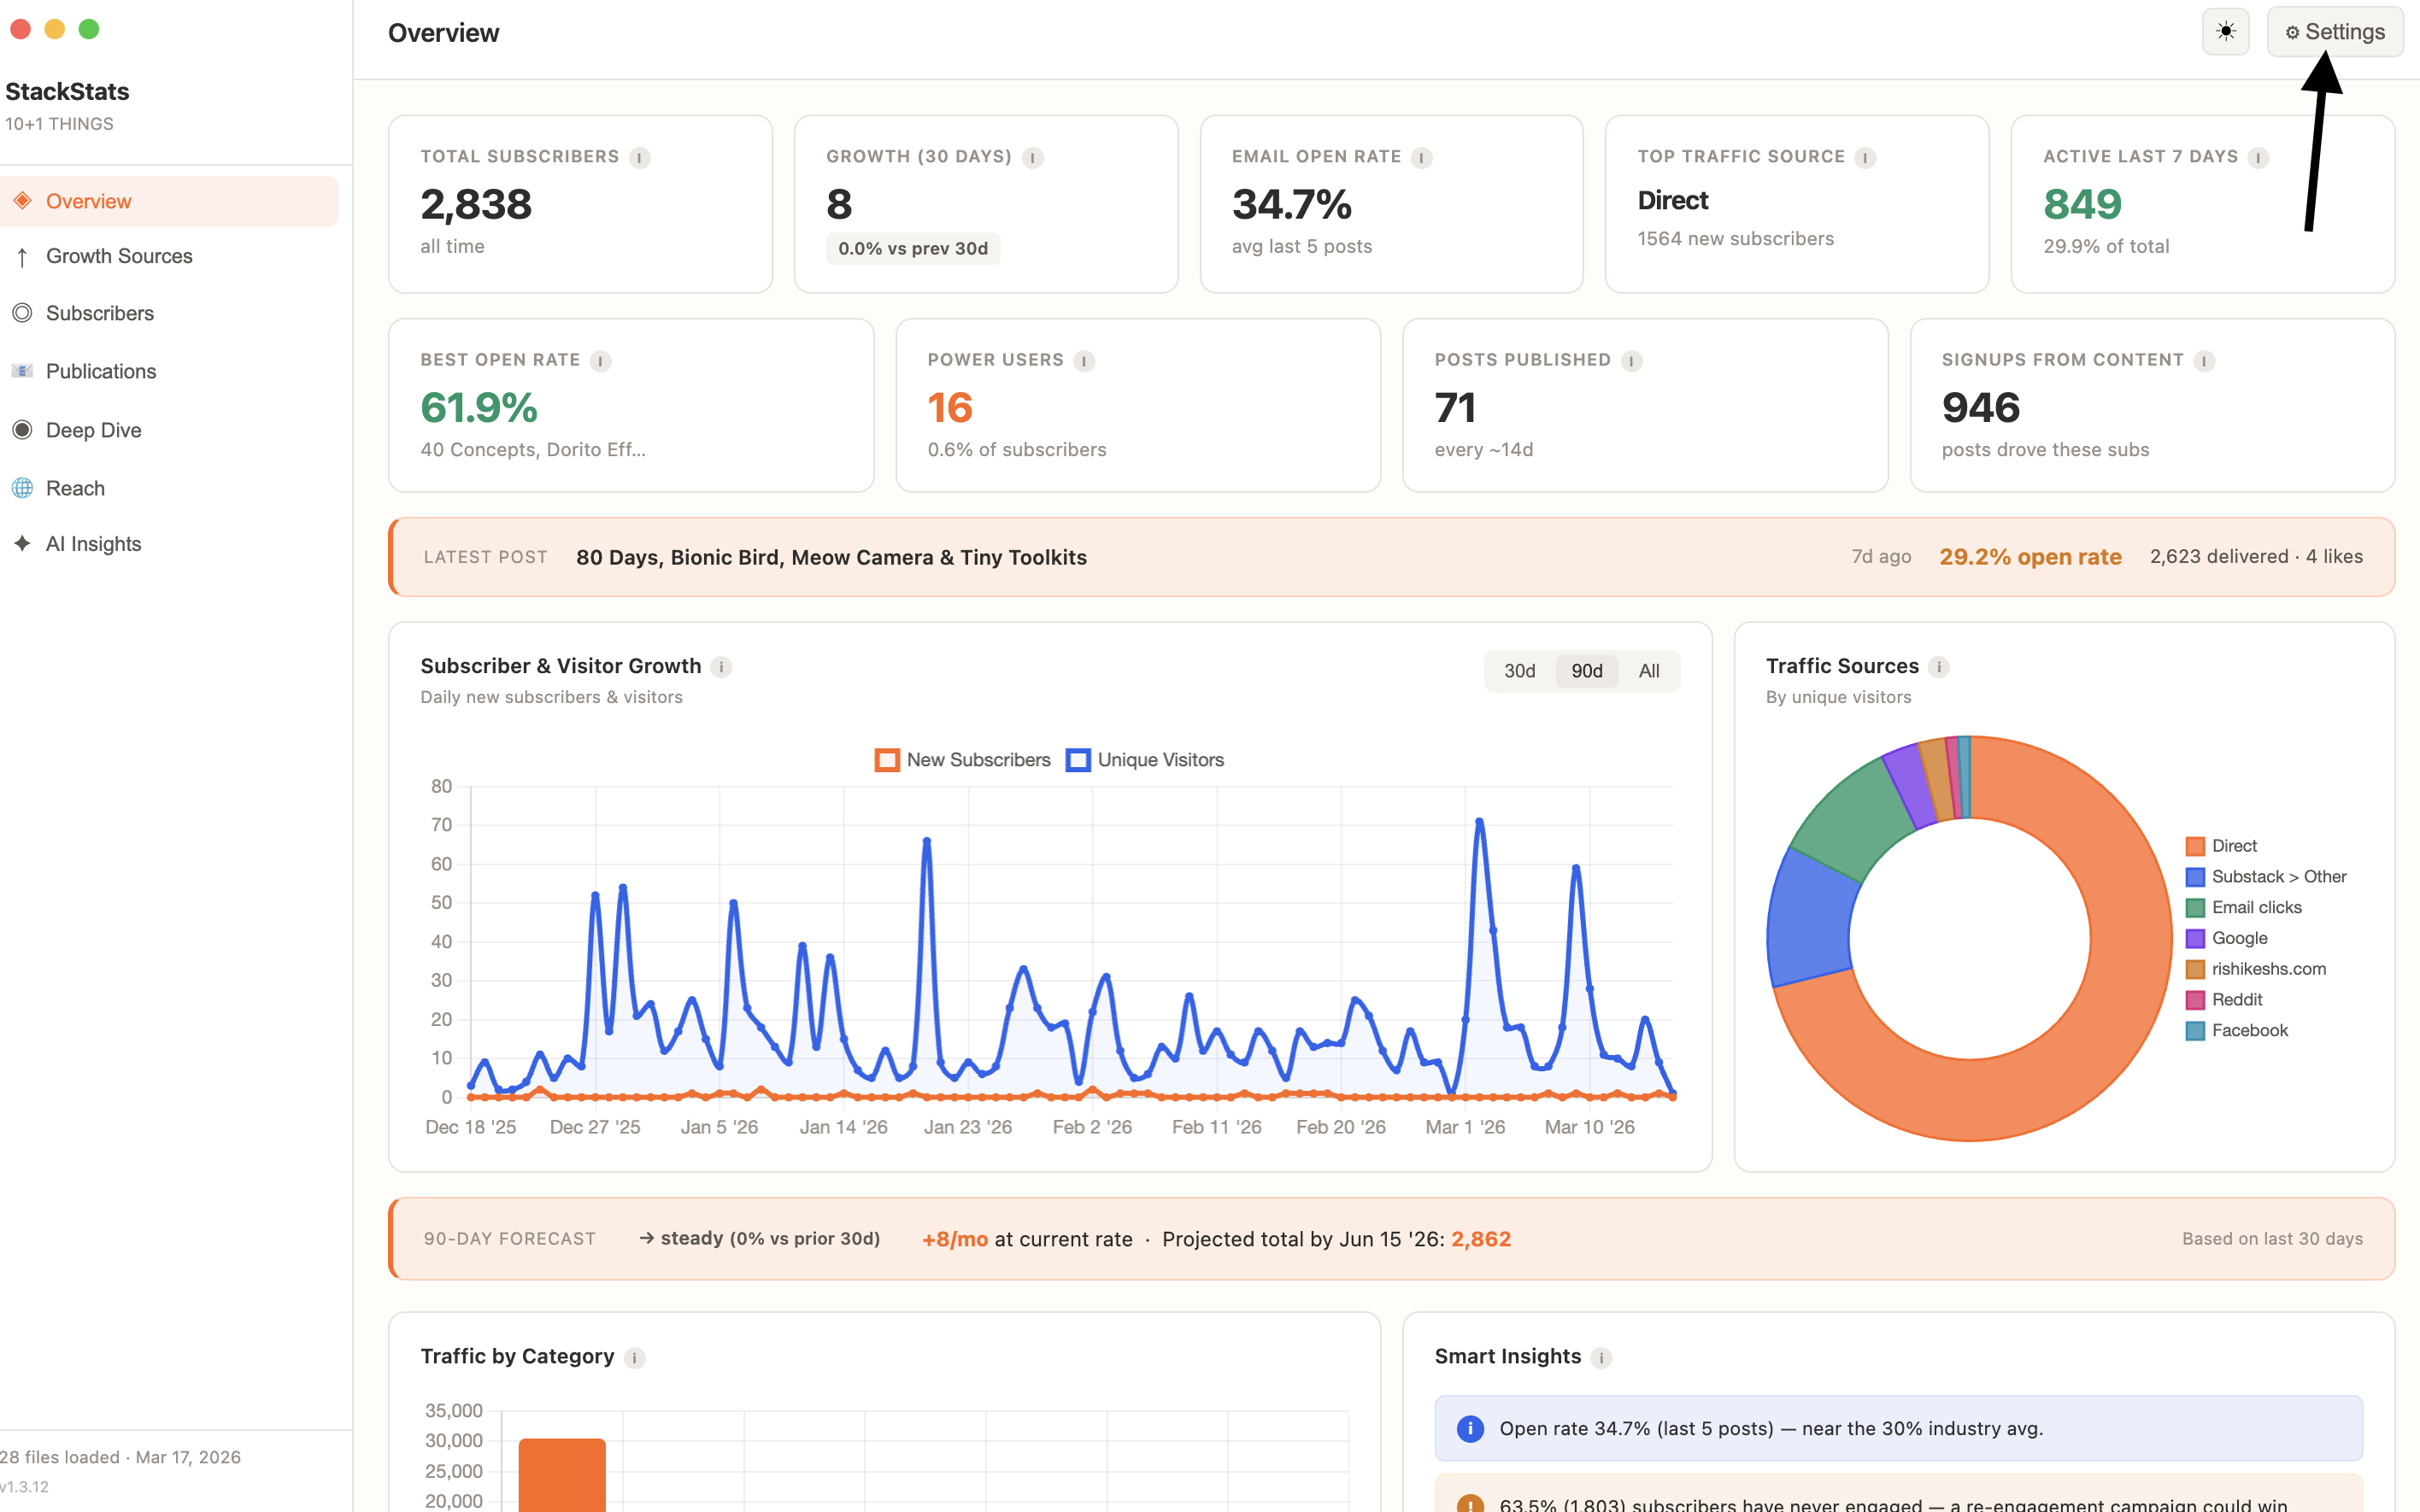
1 — Open Settings
Open StackStats and click the Settings button in the top bar.
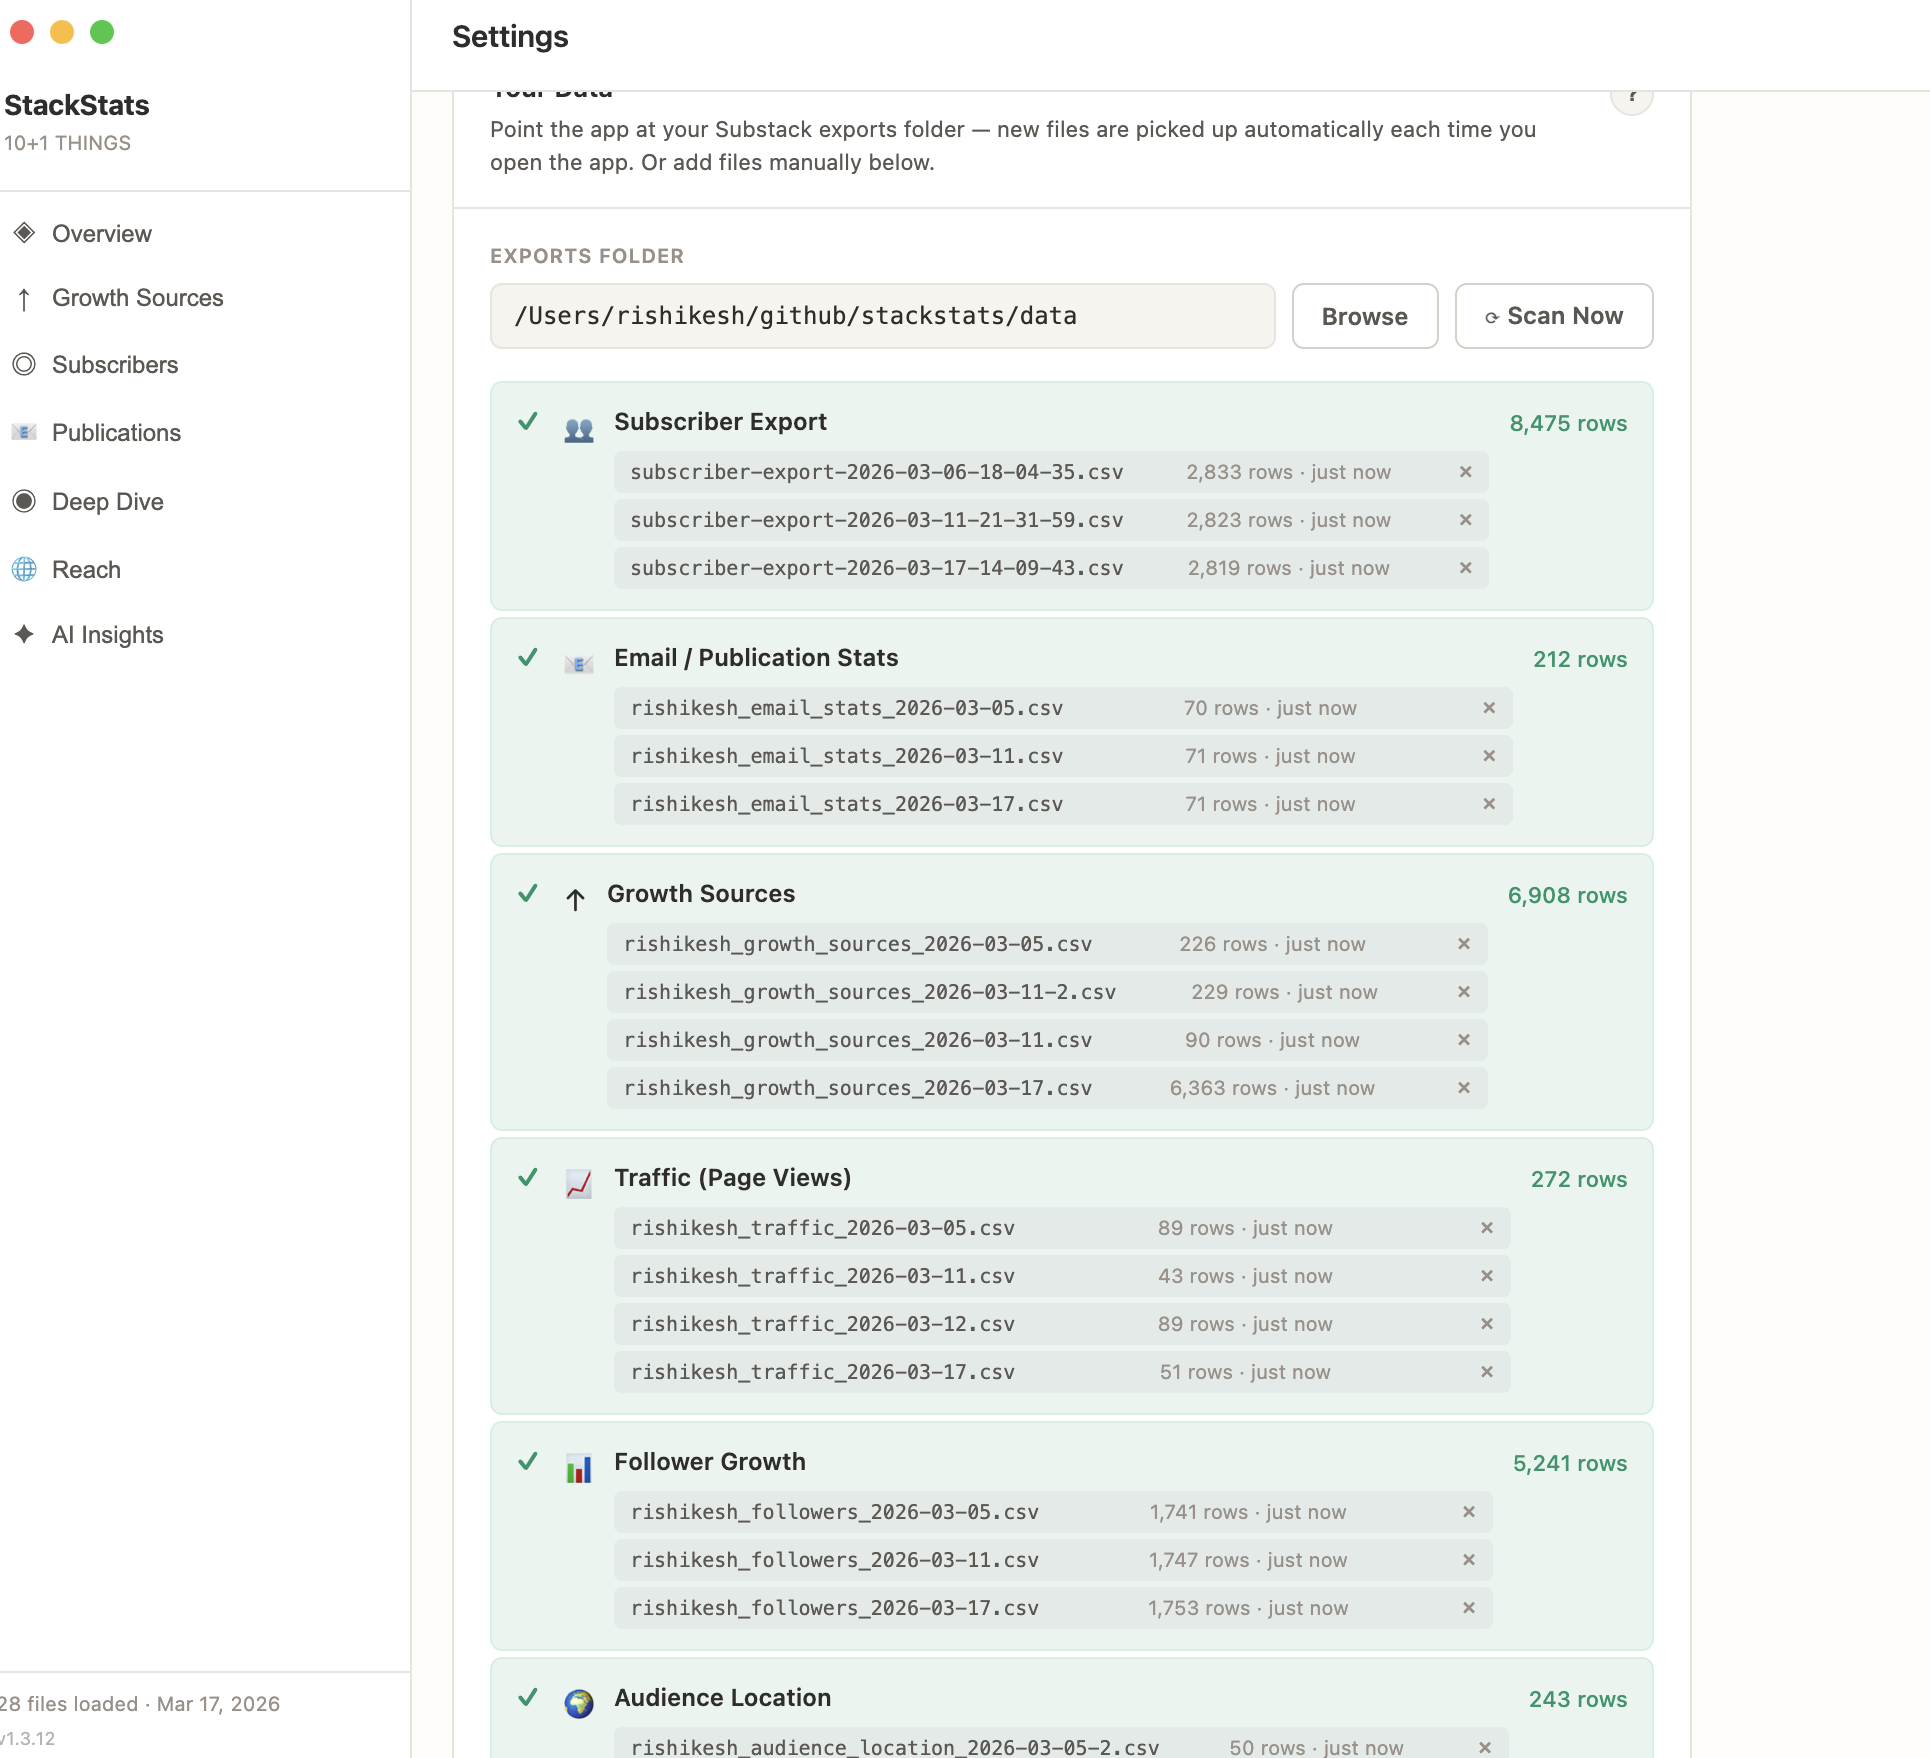
2 — Set your folder and scan
Set the auto-scan folder to wherever you saved your Substack downloads, then click Scan Now. StackStats will detect and import all files automatically.
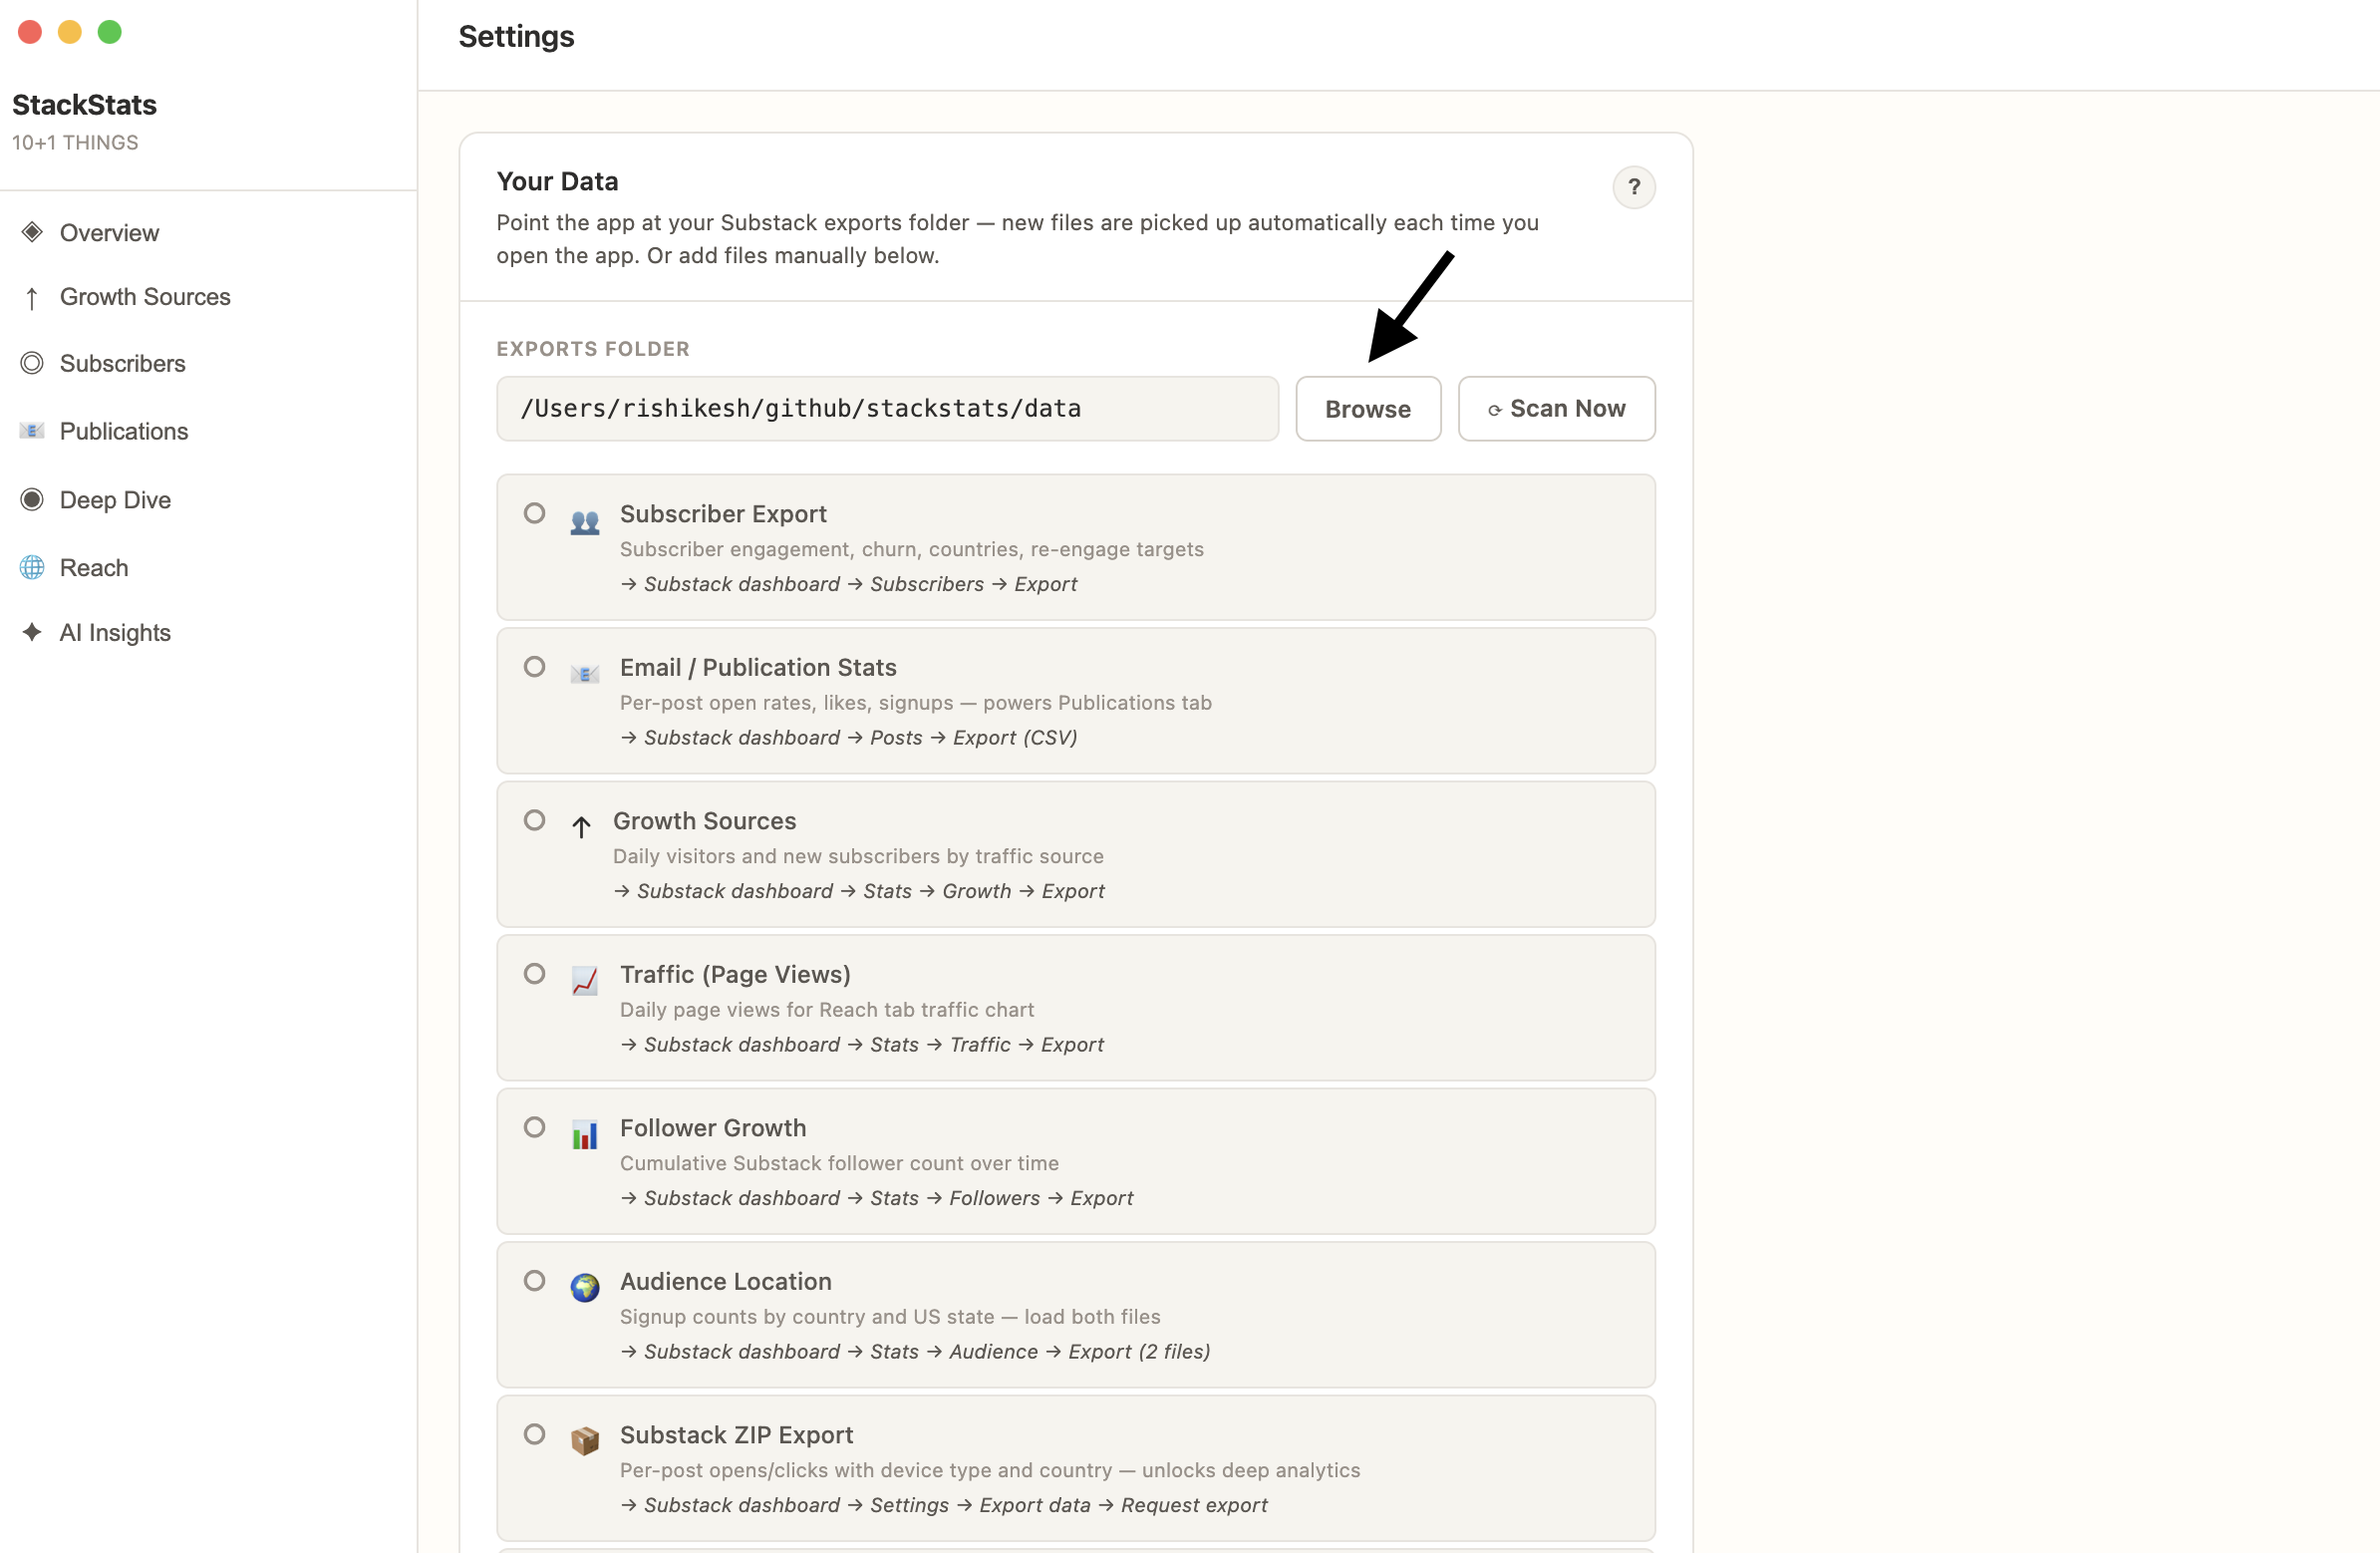
3 — Add any missed files manually
If a file wasn’t picked up automatically, use the Browse button next to that file type to add it manually.
A note on bugs & updates
StackStats is improving every day. If you run into anything unexpected — a chart not loading, a file not being detected, anything at all — please reach out. Fixes are shipped immediately via over-the-air updates, so you’ll get the fix the next time you open the app.
Reach me at [email protected] or find me as rishikeshs on Discord.
← Back to StackStats